Pages

Wednesday, December 31, 2014

Thanking Sharon and Lis


Fran and Kathy want to thank Sharon Jeffs and Lis Whiting for their years of faithful membership and fabulous work as part of the Frantic Stamper Design Team. Unfortunately, their tenure ends today.

We are having more and more interest in positions on the team, and so we felt, with saddened hearts, that we needed to let Sharon and Lis, who have been on the team the longest, move on so others could have an opportunity to join us.

Please join us in thanking Sharon and Lis for all their hard work and wonderful art. We are so grateful for all they have done to promote Frantic Stamper and its products.

It truly has been a joy to work with them, and we will miss them both.


Tuesday, December 30, 2014

Come Let Us Adore Him (Jen Carter)


Jen Nativty Creche Northern Star 1.1 wm

Come Let Us Adore Him
by Jen Carter


(ed. Though Christmas Day has passed it is still Christmas Season, celebrated until Epiphany, the day we celebrate the arrival of the Wise Men, so we think this Nativity scene is still quite timely.)


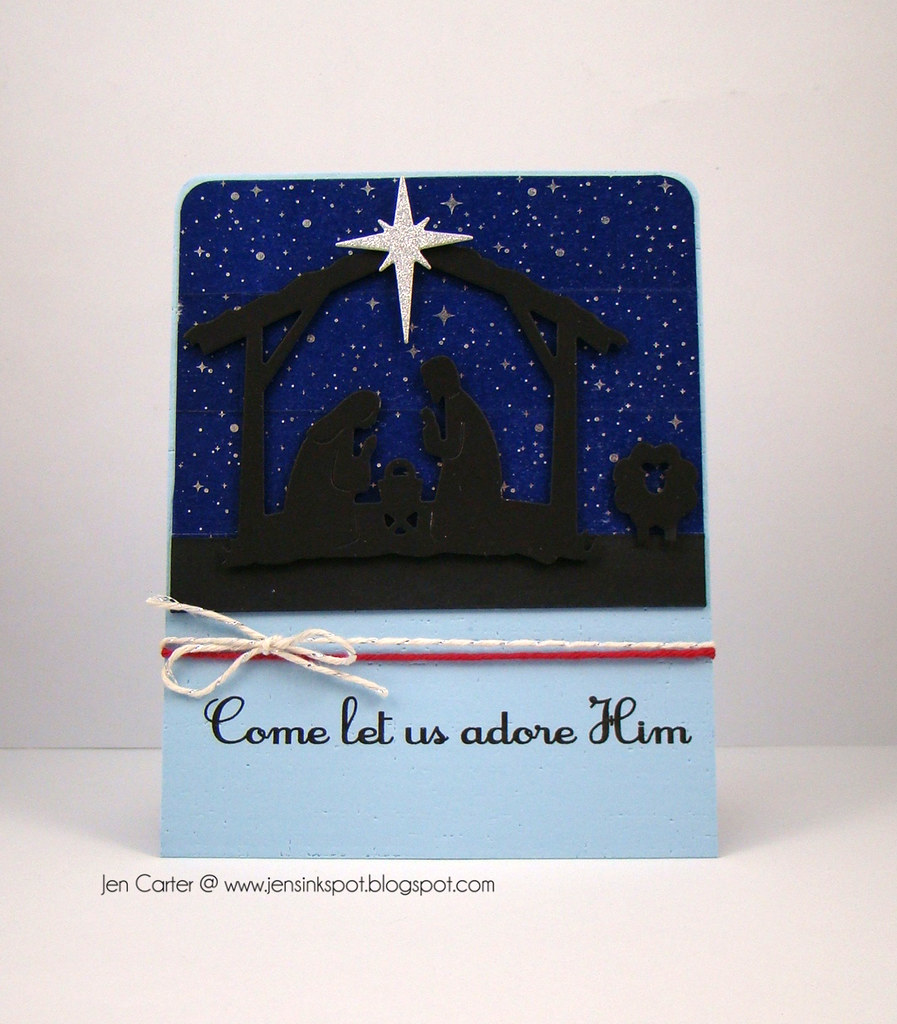
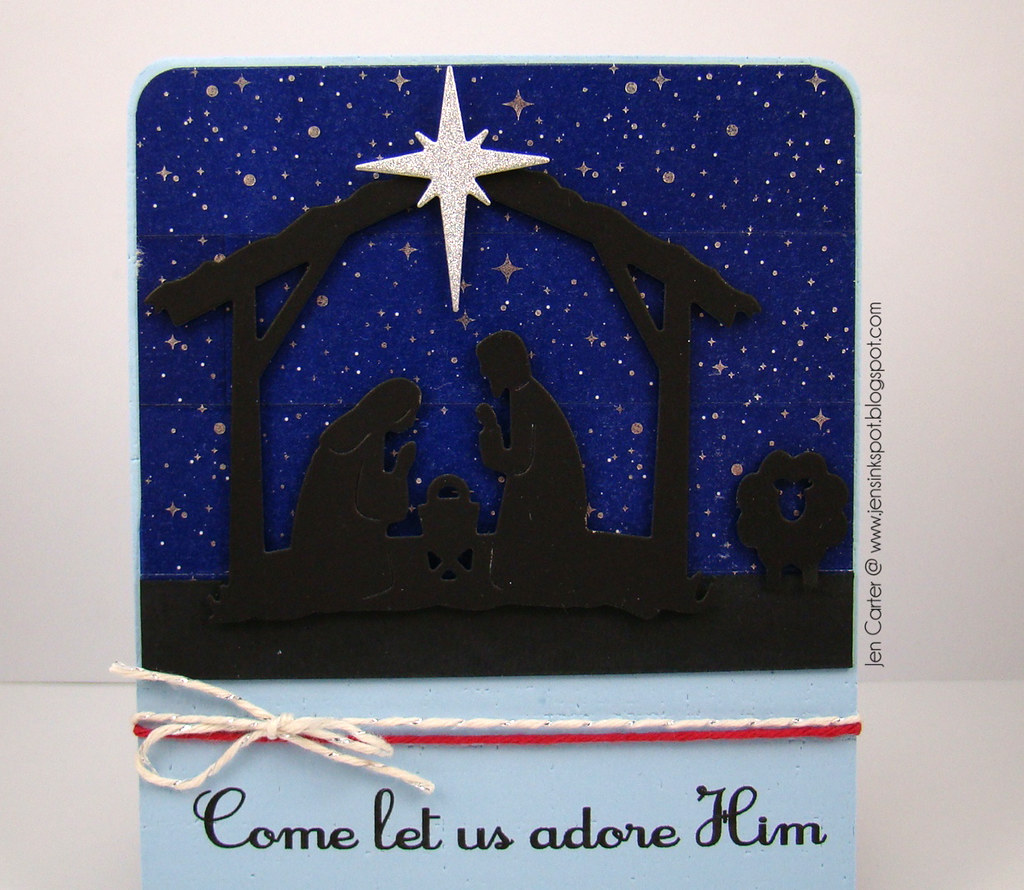
Hello everyone!  I think I've said this a time or two lately but I LOVE the Nativity Creche & Sheep Die from Frantic Stamper. Love!  The card I'm sharing below was one of the first I made using this die and I'm excited to share it with you today.


Jen Nativty Creche Northern Star Closeup 1.1

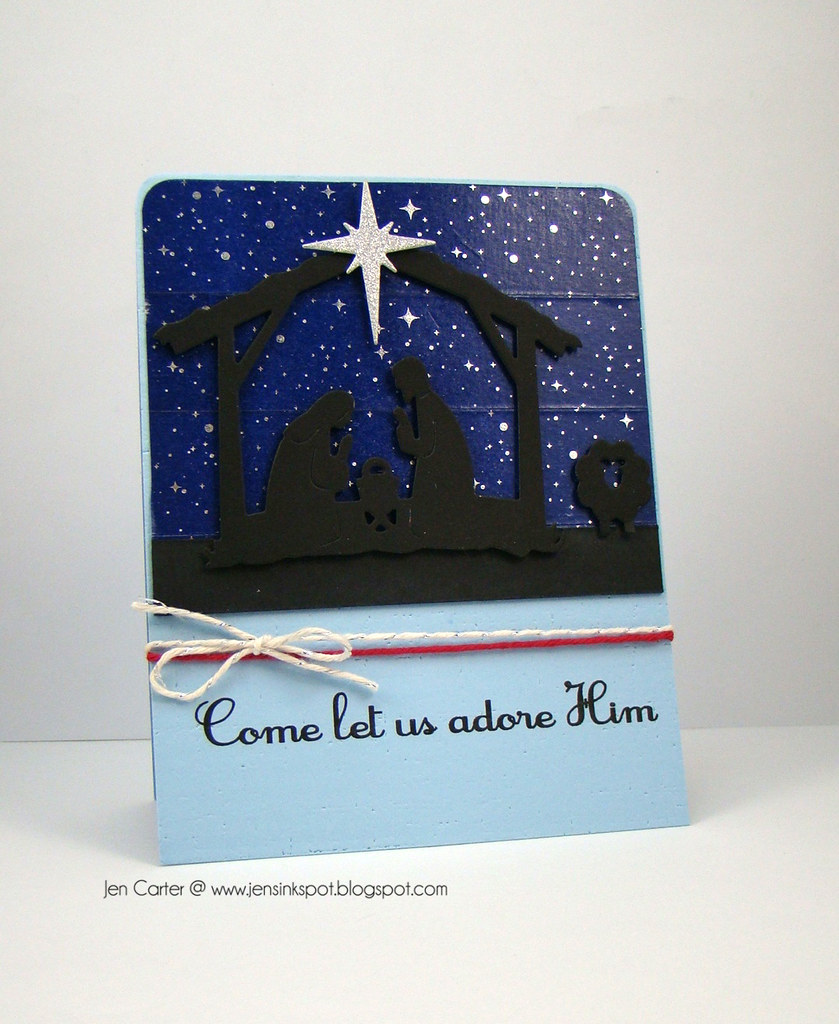
For this card, the sky background was created with Silver Starry Night washi tape. As soon as I saw it I knew I needed to use it with this nativity silhouette die!  I die cut the nativity and sheep in black cardstock and then cut a black strip of cardstock to use for the ground.  This helped the nativity scene to be grounded and to not look like it was floating.  I popped the nativity and sheep up with pop dots to add dimension.  I placed a silver glitter star, die cut with the Northern Star die, on top of the nativity.

Jen Nativty Creche Northern Star 1.3 wm

I didn't have just the right sentiment stamp at the time so I used my computer to create this one.  This is a very simple & easy-to-put-together card.  Especially if you are wanting to mass produce them!


*** Materials for this project are available at www.franticstamper.com.

Frantic Stamper Products Used:

Saturday, December 27, 2014

Two Design Team Announcements

First, I would like to announce that Ann Greenspan has agreed to stay on as a permanent team member. Her guest stint with us was due to expire on New Years eve, so we are thrilled she won't be leaving us! We love the work she has been doing for us!

And I would like to re-introduce an old friend, Anne Harada, who will be guest designing for us for a while starting in the new year. Anne was a team member a few years ago and we are excited to have her back with us! Here she is, along with a little bit about her, in her own words.


I live in Ft. Worth, Texas, with my best friend and husband, Carl, and our two sweet puppy dogs, Charlie and Skipper. I work full-time for a software engineering company as the only woman among 35 engineers! My passion for paper crafting is surpassed only by my love for God and my family. My life has been incredibly blessed and I am grateful that I am able to share my enthusiasm for crafting with others whenever I get the opportunity. My tastes and style of paper crafting are continually evolving, and I am constantly amazed at how this industry and the artists keep inspiring me with their fresh ideas and new products. What started as a card making session for me with a few stamps, some card stock and ink nearly 20 years ago, has become an entire room in my home filled with crafty tools, embellishments, papers and many of the same stamps I started with all those years ago!

I've been fortunate enough to design cards and projects for Frantic Stamper in the past, and I am thrilled at the opportunity to join Fran, Kathy and the amazing FS Design Team ladies once again! Currently, in addition to FS, I am a Design Team member with Heartfelt Creations for 2014/2015.

My Blog: www.everlastingink.blogspot.com

We hope you'll help us to make Anne feel welcomed back to the team.


Thursday, December 25, 2014

Merry Christmas (Elly De Bruin, Special Contributor)


Merry Christmas
by Elly De Bruin

Merry Christmas to you all. We wish you a truly wonderful day.

Here is a beautiful card from our Special Contributor, Elly, to celebrate. We hope you will enjoy it as much as we do.

Check out this card and more at : Elly's blog


*** Materials for this project available at www.franticstamper.com.

Frantic Stamper Products Used:

Monday, December 22, 2014

A Special Introduction

The Frantic Stamper design team is so excited to introduce our first Special Contributor. We came across her breathtakingly beautiful work and could not wait to add her to our team in some capacity. We think that when you see some of her cards using Frantic Stamper Precision Dies you will quickly see why. Without further ado, here is a small bio as an of introduction.


Hi I’m Elly de Bruin from the Netherlands.

I’m 50 years old, married with two kids and proud grandmother of two grandsons. About fifteen years ago I started cardmaking. In the beginning I created simple cards with 3D images, but a little later I discovered the die cutting machine and cutting dies, that was the start of an addiction hehe. Now I own quite a selection of cutting dies, and I love it...Have to have more and more of them! A little while ago I discovered Frantic Stampers dies at my favourite store Doe@ding here in the Netherlands, and I purchased some. I do like them very much, and ….very important…they cut perfectly. So in the future I hope to get some more of those great dies and make some nice cards with them. If you want to see what I’m making you’re welcome to visit my blog:

www.ellyscardcorner.blogspot.com

Please visit Elly's blog, leave comments, and follow her! We are sure she will appreciate it and then she will make more beautiful things for us!

And now, for some of her incredibly beautiful cards.


Merry Christmas uses Frantic Stamper Jolly Holly Sprigs, Holly Leaves and Berries, Buck and Doe, Mix 'n Match Merry Christmas, and Mix 'n Match Christmas Ornaments.


Santa's Suit uses Frantic Stamper Mix 'n Match Merry Christmas, Santa's Suit, and Jolly Holly Sprigs.


Merry Christmas uses Frantic Stamper Script Merry Christmas and Jolly Holly Sprigs.


Curled Ribbons uses Frantic Stamper Mix 'n Match Christmas Ornaments and Jolly Holly Sprigs.


In the Woods uses Frantic Stamper Buck and Doe and Small Birch Trees.


"Schilderitje" uses Small Birch Trees, Buck and Doe, and Jolly Holly Sprigs.


We hope you have enjoyed this sampling of the gorgeous cards Elly has shared on her blog and is allowing us to post, too! Stay tuned for more from Elly, and more Design Team Happenings coming before the end of the year!


*** Materials for this project available at www.franticstamper.com. Frantic Stamper Precision Dies Used:


Tuesday, December 09, 2014

Ombre Chevron (Jen Carter)


Ombre Chevron
by Jen Carter


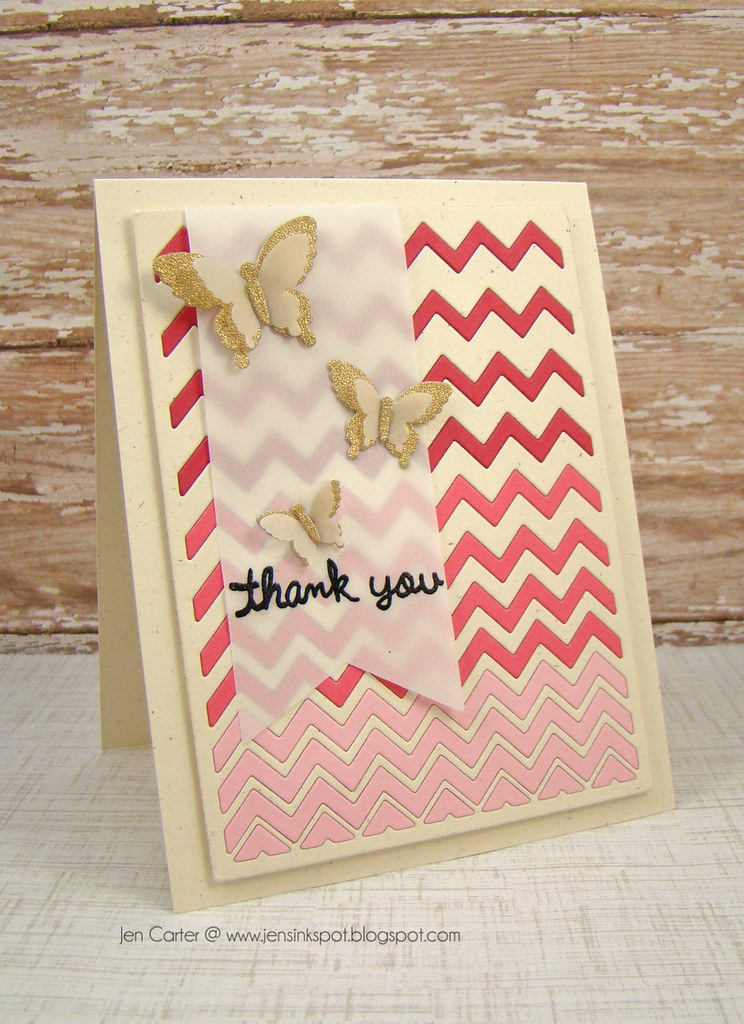
If you enjoy looking at Pinterest or in the things around you for inspiration I am sure you've noticed the ombre trend!  I really love the ombre look and Frantic Stamper has a very cool die that is perfect for this trend!  I have had so much fun playing with it and coming up with ideas and color schemes and patterns!

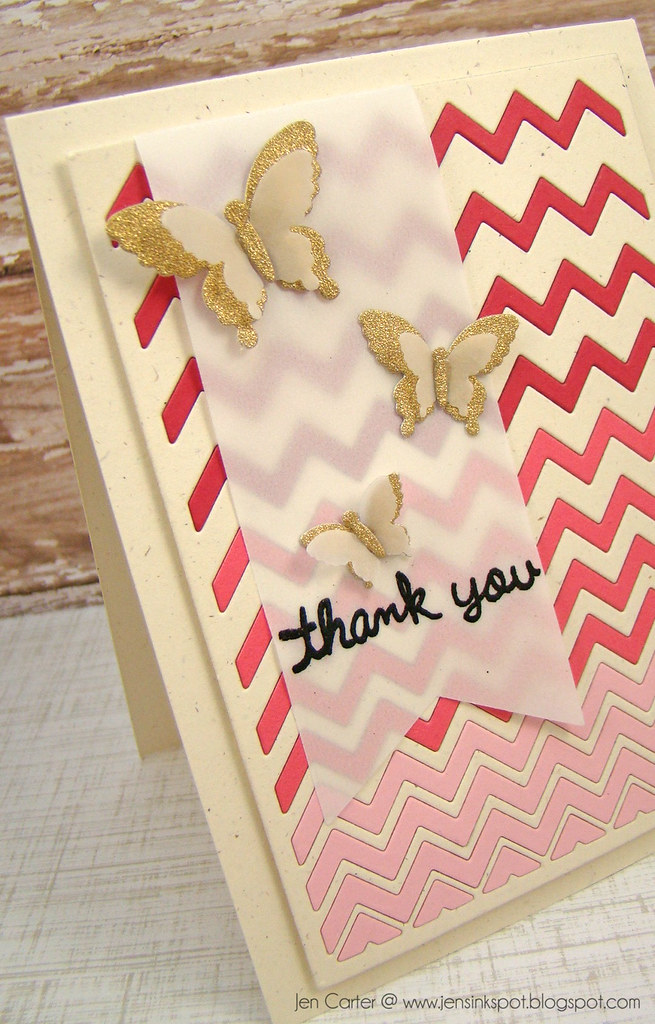
For this card I chose to work with pinks.  I die cut rustic cream cardstock with the Ombre Chevron Card Panel die.  I then used the same die to cut three different colors of pink cardstock using scrap pieces.  I used a large enough piece of scrap paper to cut four chevrons of each color.

Ombre Chevron Petite Butterflies Closeup

Starting with the lightest pink at the bottom, I layered the chevrons into my rustic white piece.  I used scotch tape on the backside of the panel to keep the chevron pieces in place and this also helped stabilize it when I popped it up to attach to my card base.  I die cut the cutest Petite Butterflies (I LOVE how they layer!) in vellum and gold glitter cardstock and layered them on to a vellum banner.  I embossed the sentiment in black.

Ombre Chevron Petite Butterflies Side

There are so many possibilities with this die! If you have a lot of scrap paper and wonder how to use it, this is a great die for that!  You can mix and match coordinating cardstock and paper patterns for a very fun background!  I hope you love it as much as I do!

Thanks for visiting!  I hope you enjoy your day!


*** Materials for this project are available at www.franticstamper.com.

Frantic Stamper Products Used:

Monday, December 08, 2014

Peace On Earth (Rozy Smith)


"Peace On Earth"
by Rozy


Start with a 5x7 black card base. Using Frantic Stamper Great-Grandfather Letter stamp and VersaMark Pad, stamp the design on the black cardstock front, apply Silver Hologram Embossing Powder then heat set.

Die cut Planet Earth Die and Large Peace on Earth Die from Aqua Vellum Paper, stamp with Great-Grandfather Letter stamp and heat emboss. Apply dies to card front. Use Dazzles for the border strip and snowflakes.

Die cut two of the Northern Star Dies using Aqua Vellum & Silver Glitter Paper. Offset the two layers for a shadow affect.

Die cut the bow using Small Polka Dotted Paper Bow Die using DCWV black and silver glitter paper. Adhere a white Sprinkle for the center of bow & attach to card.

Wish you could see the card in person! The Holographic affect is awesome!

The new dies, as always, are fantastic to work with!


* Materials for this project are available at www.franticstamper.com.

Frantic Stamper Products Used:

Tuesday, December 02, 2014

Congrats in GOLD (Amy Kolling - Guest Designer)


Congrats

Congrats in GOLD
by Amy Kolling - Guest Designer


GOLD is trendy right now.  I'm having so much fun using it for the holidays this year but I thought I'd share a "Congrats" card today instead.

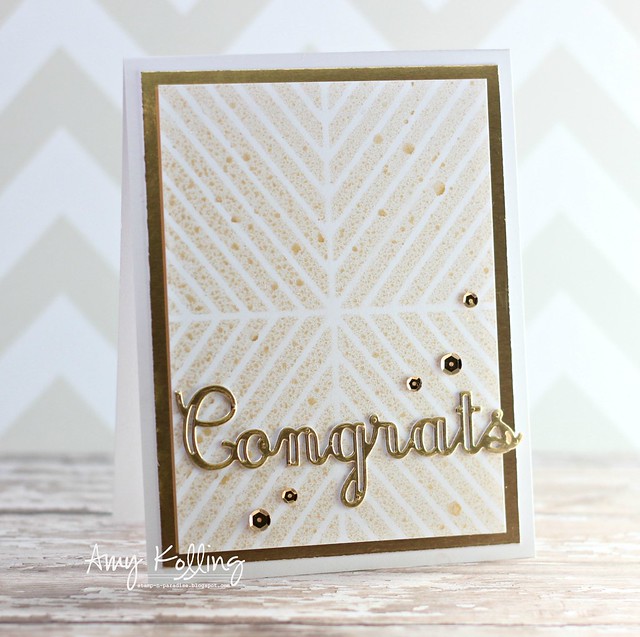
I started out by diecutting Alternating Diagonals Card Panel from Frantic Stamper. I LOVE LOVE LOVE this die! So many options for design in this die! I used the negative as a stencil to mist some Gold Color Shine by Heidi Swapp.  I trimmed this panel down and adhered it to a gold cardstock panel with foam adhesive.

Congrats2

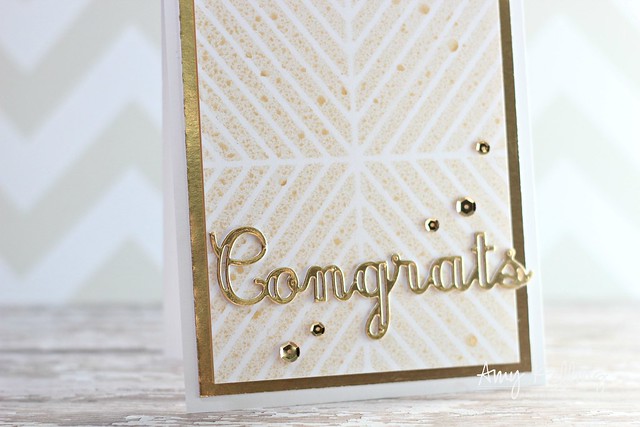
What about that sentiment?  The cutout details are just amazing. I used the Accolades Die set from Frantic Stamper and cut one from white cardstock and one from gold cardstock. These are adhered together for just a bit of dimension. A sprinkling of gold sequins finishes this off!


Thanks for stopping by today!


*** Materials for this project are available at www.franticstamper.com.

Frantic Stamper Dies Used:

Saturday, November 29, 2014

Gift Decorations with Dies (Jen Carter)


Gift Decorations with Dies
by Jen Carter


I recently had the pleasure to spend a weekend with a bunch of terrific crafty girls.   We were each suppose to bring a gift and to wrap it in cute packaging.  I didn't have the right size of box so I decided to make my own!

I used my Scor-Pal to create the size of box I needed following this basic template and adjusting it to the size I needed to fit the items I placed inside.  I wrapped a colorful patterned paper band around the lid.
Stamping Away Box closeup 1.7

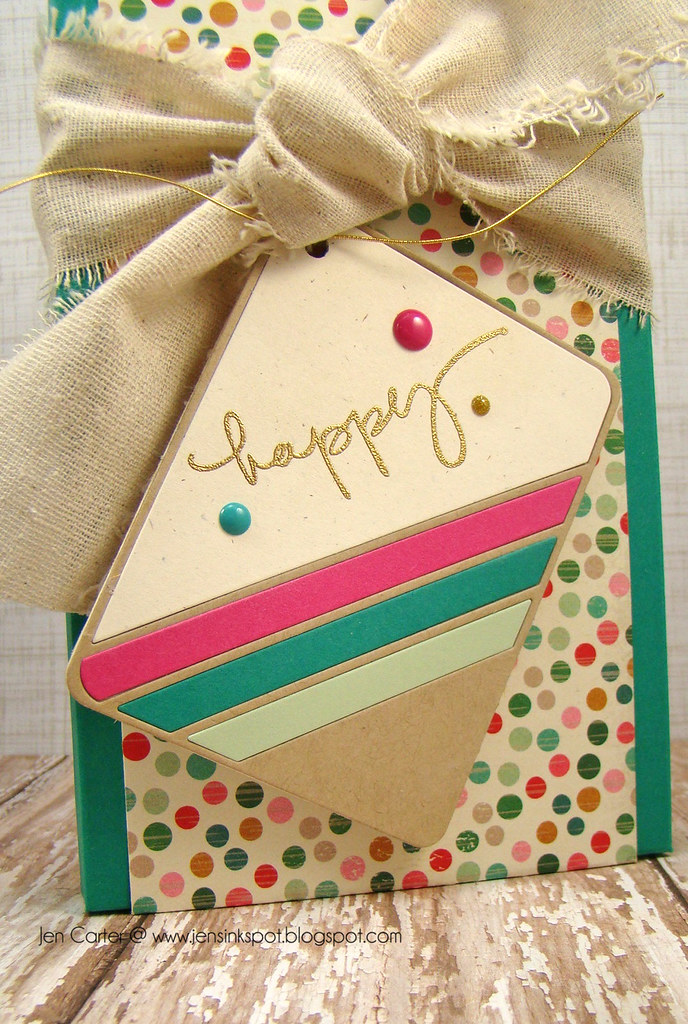
To make the tag I used one of my favorite dies from Frantic Stamper called Diagonal Stripe 3x4 Photo Card die.  To make this tag a little thicker and to more easily attach the various pieces, I first cut the tag with chipboard with a sandwich that didn't allow the die to cut completely through.  I then trimmed around the outside edge with a craft knife.  I picked coordinating cardstock for my frame and stripes and attached them to the base.  The "happy" was heat embossed with gold embossing powder. I added a few enamel dots to finish off the tag.  I punched a hole in the top of the die piece to make it a tag and tied it on with a little bit of gold wire wrapped around the canvas bow.
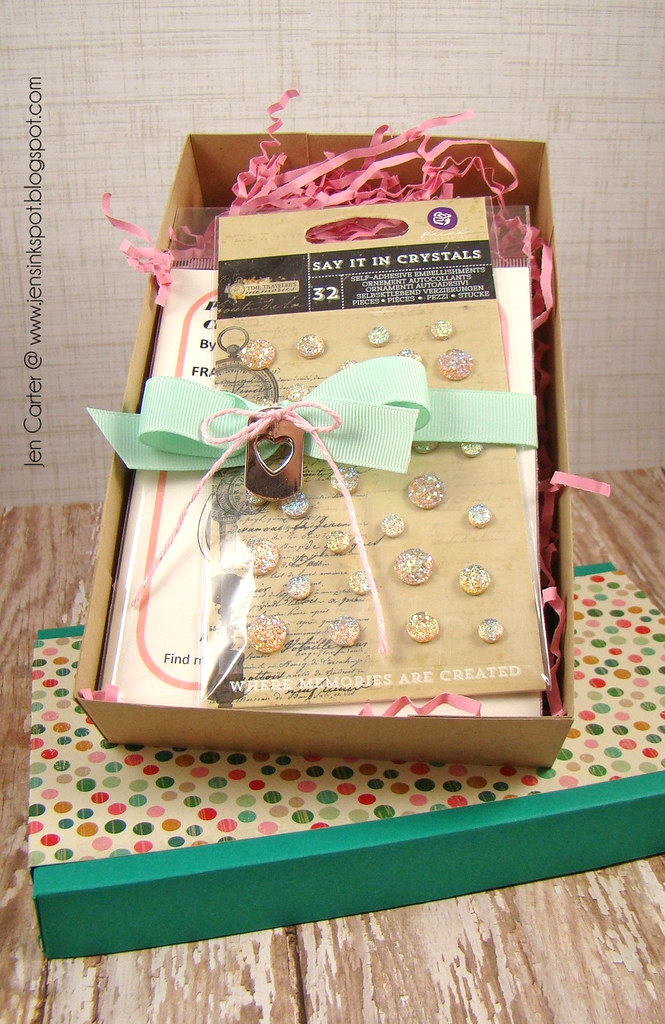
Stamping Away Inside 1.2

When the box was opened this is what was inside.
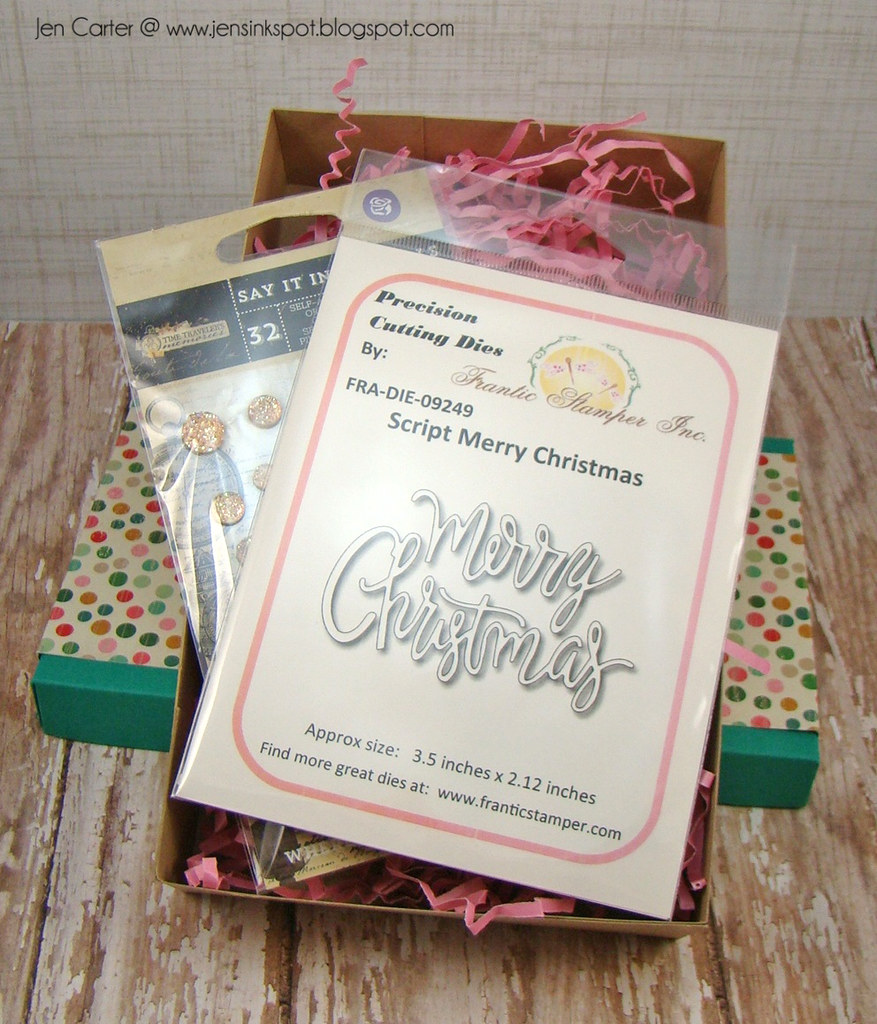
Stamping Away Inside 1.1

This die from Frantic Stamper is another one of my favorites!! It is called Script Merry Christmas and it is gorgeous!  My make and take for the weekend used this die too!
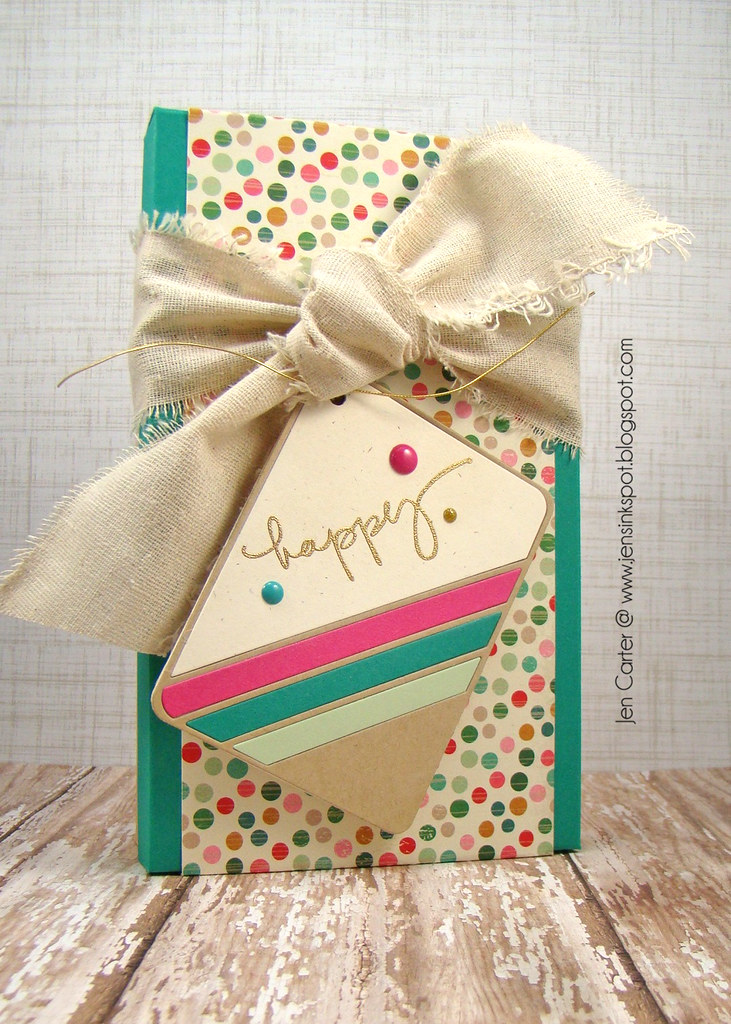
Stamping Away Box Side 1.6

Here's one more view of the complete box.  I LOVE finding ways to use my dies in out of the box ways!  Can you imagine how cute these would be on Christmas presents?

Thank you for stopping by today!  I hope you have a wonderful day!


*** Materials for this project are available at www.franticstamper.com.

Frantic Stamper Products Used: