Friday, June 03, 2011

Little Yellow Bicycle; Elizabeth Park (Design Team Projects)

by   Kathy Berger

When I got a sampling of the new Elizabeth Park papers from Little Yellow Bicycle I just fell in love! I'd like to share a few of the items I made with papers from this collection.

First up is a project using the Flutterby/Fuchsia Flower Dot paper. When I saw this butterfly covered paper I was reminded of my great-uncle's mounted butterfly collection; though I found them beautiful, I always felt bad for the butterflies. I knew right away that I needed to use this paper to replicate the beauty of Uncle Mal's butterfly display without harming any beautiful insects.


I carefully cut out 18 butterflies, two each of nine different patterns. Those got mounted in pairs; one butterfly was glued flat to the center of a white mounting square while the other of the pair was glued over them, attached only at the butterfly's body leaving the wings free to be slightly curled for display. I mounted the white squares onto black card-stock, added some bling for each butterfly's body, and then affixed the whole thing onto a fabulous gold, black, and glass frame (which I had purchased for a dollar at a local store...what a find!)

This butterfly collection has already made it's way to my daughter...she just got her first real apartment and this made a wonderful little housewarming gift!


Next I had just loved the little birds from the Birds on a Wire/Tiny Lattice Teal paper, and knew I needed to make a little house for them.


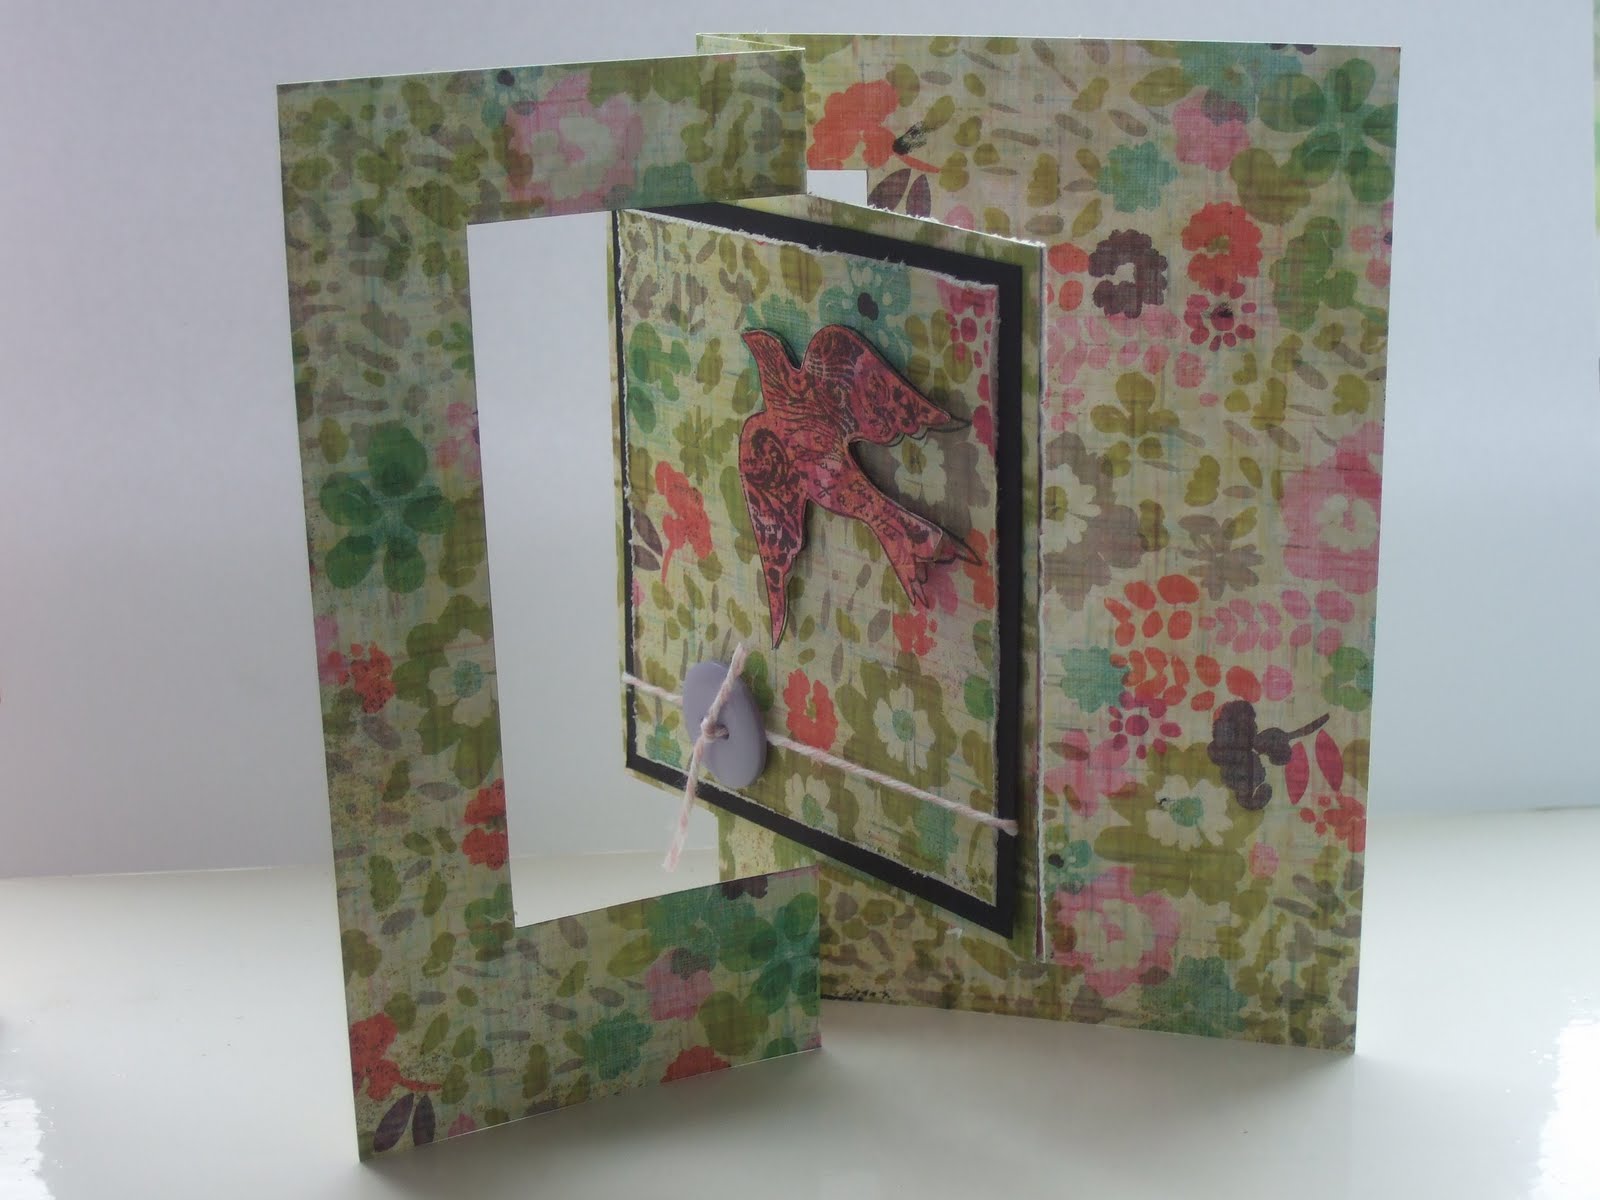
I drew a template for a birdhouse card and cut it out of white card-stock. I then decided that I needed my birdhouse to be interactive (because I just love cards that DO something!), so I added a pop-up mechanism to the front of the card, so that when I pull down on the post of the card, the bird that is inside the birdhouse pops up to answer the door.


The card front is covered with Elizabeth Park Tiny Lattice Teal paper, trimmed with scraps of dark blue cardstock and wonderful self-stick paper lace trim by Leone Em, and then decorated with FABULOUS dimensional flowers put together from the Elizabeth Park Paper Flower Kit. Those flowers were SO much fun to make by mixing and matching the pieces, and they were so perfect for finishing off my birdhouse, outside and in! (The "Hello" was stamped using the Butterfly mini-set of clear stamps, INK-CSM-30135, by Inkadinkado.)


(By the way, don't you think this house template could make a really CUTE dog house, or even a people-house for something like a moving announcement?)

Lastly, I have a triple shutter card to share.


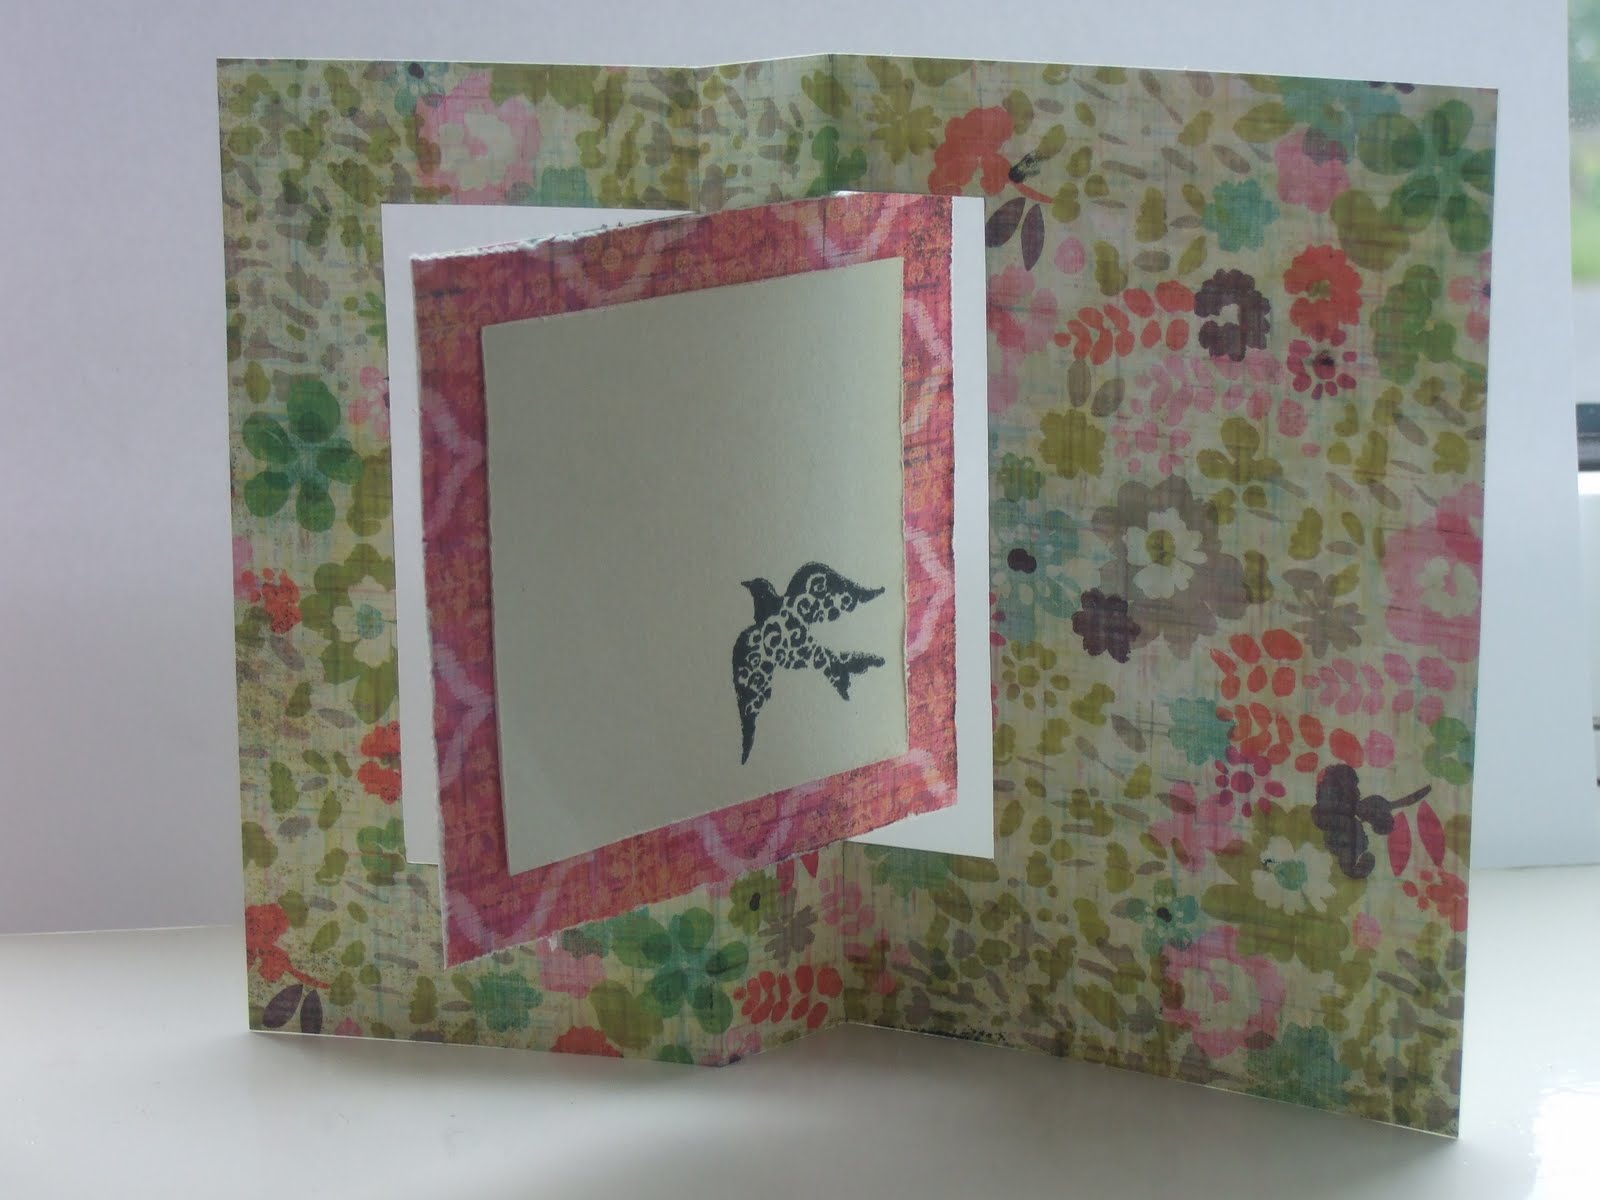
This was made with the Bloom Bands/Lacy Lattice paper. I thought the horizontal bands were perfect for the horizontal panels in this type of card. The card uses the standard vertical scores at 2", 4", 6", 8" and 10", but the horizontal cuts were made at the change between the bands rather than at a specific distance from the edges.

I decorated the card with flowers from Elizabeth Park Paper Flower Kit, butterflies stamped with the Butterfly mini-set of clear stamps by Inkadinkado and with letters from Tim Holtz's Grungeboard Iconic Elements that I colored with various Distress Inks.


I hope you have enjoyed my projects. I really love this collection from Little Yellow Bicycle and really enjoyed making these projects with it.

Thursday, June 02, 2011

Technique Thursday: Glue Guide


by Debi Wind

Glue Guide

Card making and scrapbooking exist because of the adhesives available on the market. Each time we create a card or put together a layout we use a form of adhesive. No longer are white glue, rubber cement, scotch tape or masking tape the only adhesive options available. A new generation of acid free and reliable adhesives have come onto the market in the form of double sided tapes, tabs, and dots, liquid glues, and solid paste.

There are two types of adhesives: wet and dry adhesives. Wet adhesives come in liquid, past, stick, or spray form and dry adhesives come in tape, tabs, dots, and photo corners. Adhesives can be permanent, repositionable, or temporary.

It is important to select the right glue for your surface. There are 3 types of surfaces: non-porous (metal, glass, plastic, glossy paper) are slick, shiny, and do not absorb water, semi-porous (treated wood, coated paper, rubber, fun foam) absorb some moisture but do so unevenly and slowly, and porous (including most papers, unsized fabrics, plaster, cardboard, and untreated wood) absorb moisture quickly and evenly making the glue easier to absorb. There are different glues for different jobs so select the best glue for your needs. Read the label of the glue to see if it will meet your project needs.

Read the manufacturer’s instructions before applying glue. Test glue on a scrap to make sure the glue will work for your surface. Work in a well-ventilated area and cover your work surface. Before applying glue make sure your surface is clean, dry, and free from dust and oil. If working with a very slick surface use fine sandpaper to roughen up the surface so that the glue will adhere better. Keep bottle on its side while working as this will make the glue flow smoother. Never apply too much glue. Be prepared to use different glues for a project if you are gluing different surfaces together. Watch out for old glue; glue has a limited shelf life and will start losing its potency. Select the right method to apply the glue; brushes, spatulas, craft sticks, wooden skewers, and toothpicks are good choices. Remove excess glue with toothpicks, cotton swaps, and small old brushes for a perfect finish. Be sure to clean brushes for the next time.

Clean up excess glue while it is wet. Give glue a chance to dry…there is a difference between grab time and drying time. Grab time is how well the glue holds to the surface and the drying time is how long it takes for surfaces to permanently bond. Store glue properly; keep glue away from extreme temperatures and direct sunlight. Be sure to replace the cap well to prevent evaporation.

Always experiment with your adhesives first before using it on your final project. Glues vary widely as to which materials they stick to, how well they bond between surfaces, how the glue bond ages in both terms durability and color. Clean off excess glue before you display or sell your project.


There are many adhesives products for paper crafts. One thing we know is that it must be acid free. Here are a few different adhesives that can be used.

Wet Adhesives:

Glue Pens:

Glue pens come in different point sizes. There is a fine ball point for writing. For drawing or coloring in areas use a broader tip. They are acid free and xylene free. Some come with the color glue that dries clear. The glue pens come with a permanent hold and a repositionable hold. Glue pens should be used sparingly so that the glue doesn’t seep out around the edges before it dries. Glue pens are designed for gluing metal, ribbon, paper to paper, glitter, embossing, masking, flocking, and for book making. Use according to the directions provided by the manufacturer.

Glue sticks:

Glue sticks are a solid adhesive in a twist or push up tube. Glue sticks are designed for gluing paper to paper, fabric to paper, and paper to metal. Glue sticks are now permanent, re-positional, washable, acid free, non-toxic, solvent free and some have a color to see where the glue is being applied. Glue sticks are easy to apply, don’t make a mess so there is very little clean up and they dry clear.

Mod Podge:

Mod Podge is an all in one glue, sealer, and finish. It is water base for easy clean up, acid free, non-toxic and comes in matte and glossy formulas. Mod Podge can be used on paper, plastic, card board, tin, canvas, paper mache, and wood. It is great for decoupage.

Glossy Accents:

It is a 3-dimensional, water-based, clear gloss medium. Glossy Accents can be used to accent, brighten, dimensionalize and magnify distinct areas. Place Glossy Accents under embellishments to make them stick or use it on top to protect and glossify! It, also, comes in Crackle Accents and Sepia Acccents.

Diamond Glaze:

It is a dimensional adhesive that dries to a clear glass-like finish. Diamond Glaze is an adhesive, glaze, medium, paint, and lacquer all in one. It will hold vellum, glitter, beads, glass, and plastic. It can be mixed with dye-based inks, watercolor, and pearlescent pigments. Use it directly over artwork, chalk, and embellishments for a glass-like finish. It can be thinned with water for a lacquer-like finish. It is, also, one of the best adhesive for gluing.

Metal Glue

Metal Glue is a liquid adhesive formulated for attaching metal embellishments. It is archival safe, non-toxic, photo safe, and come in a non-leaking bottle design for precise application.

E6000

E6000 glue works best with any type of gemstone, wood, leather, vinyl, and canvas. It is non-corrosive and self-leveling. E6000 adheres in 5 to 10 minutes; it hardens to a clear, waterproof cure in 24 hours. E6000 dries like rubber so the bond acts like a shock absorber when it is disturbed. It is flexible, non-flammable, paintable. E6000 is great for gluing stones on cloth and the bond will withstand several machine washings. Two things E6000 will not do is bond two pieces of smooth glass together and it will pull the foil back away from acrylic rhinestones.


Gel Medium:

Soft (gloss) gel is excellent glue for collage. It works with various sizes and thickness of elements. It can, also, be mixed with small amount of color to create a glaze. Soft gel is the medium using for photocopy transfer technique and gel transfer skins. Regular (matte) gel is an all-purpose glue to use in any collage or assemblage work. It can be used to extend the life of paint too. It can be used to create texture, too.


PVA glue:

PVA glue stands for Polyvinyl Adhesive. It is a professional adhesive that dries acid-free, solvent-free, and water soluble. It can be used for paper, board, collage work, and bookbinding.


Weldbond:

/
Weldbond glue is a universal glue. It will glue anything to anything. It dries clear and is great for industrial strength gluing. It can be found in craft stores and home improvement stores. It is fantastic for gluing heavy embellishments and wood.


YES Glue:

This glue is used worldwide by paper artists. It is known for giving a secure bond without wrinkles. It is an all-purpose transparent glue that won't curl or discolor the surface being used on. It is ideal for paper, glass, metal, cloth, leather, tin, and wood.


Money Saving Tip: Use wet adhesives sparingly. A little dot or daub will go a long way.

Dry Adhesives:

Glue Dots

Glue Dots are flat round clear dots of glue that are instant-bonding. Glue Dots come in a roll that you unroll, stick to your item, and peel off. Glue dots come in thicker sizes for a 3D effect. They bond most materials such as paper, plastic, wood, metal, glass, foam, fibers, and more. For card making and other paper projects they allow you to add detail and visual interest with items such as rhinestones, buttons, sequins, vellum, transparencies, clear embellishments, ribbons, and fibers.


Red Liner Tape

Red liner tape is wonderful for scrapbooking, card making, and more. It is a heavy duty tape that is great for wood, ribbon, metal, paper, beads, glitter, and glass. It comes in a variety of widths on 5 yard rolls. The widths available are 1/8", 1/4", 1/2", 1", and 1 1/16".


Foam Tapes

Foam squares, circles, dots, and tape are used to pop items up off the surface of your project. They are a double-sided and acid-free adhesive that can be used to add depth and dimension to a paper crafting project. They can be used to create pockets, hold tags, photos, or hidden journaling.


Adhesive and Tape Runners:

Tape runners are equipped with a cartridge that runs a double sided sticky strip on the back of the item you want to adhere. They come either with permanent or repositionable tape. They are fairly inexpensive and for scrapbooking are a must have product. One tip for those not use to using a tape runner is to use the tape runner sparingly. They are efficient, easy to use, and do not make a mess. They are acid-free, archival safe, and will not harden. They are easy to refill and use a snap in cartridge.


Photo Corners:

Photo corners add a quick, easy, and inexpensive way to adhere images to your project without damaging or altering them in the process. They comes in many colors, add class and variety to your project. They are not messy, self-adhesive, and archival safe.


Vellum tape:

This specialized tape adheres vellum to cardstock without the tape being visible. Unroll the amount you need, apply stick side to vellum, rub and remove paper covering tape. Vellum tape can be used with other textures. Vellum tape is specifically formulated to disappear on most vellums. It is wonderful for making invitations and envelopes, apply die cuts, and adhering titles or journal entries to scrapbook pages. Can be used on solid color and patterned vellum.


Adhesive Machines:

Xyron has a variety of adhesive runners, sticker machines, creative stations, laminators, design runners, and the Wishblade. Cartridges come in permanent, repositionable, magnet, and lamination style. To use a Xyron, feed the image, photo, cardstock, or embellishment such as ribbon or lace into the machine and turn the handle. It will come out of the machine with an even layer of adhesive attached to the paper. Remove the protective coating and press item onto project. Use a brayer or bone folder to create a firm, smooth bond.

Removing Adhesive

You may find it necessary to remove adhesive from a card or project. The following products can be used to do so.

UnDu:

Un-du is a card maker's or scrapper's product to remove adhesive and a sticky residue. It will safely remove stickers for reuse, tape runners, and photo squares. Is will, also, remove the adhesive residue from scissors and punches. It is photo safe, acid free, and will not bleed inks.


Glue Eraser:

This compact eraser is rubber-based and excellent for removing glue from places it isn't supposed to be. It is great for working in a tight spot and is easy to store. It is known as a "Glue Pick Up Square.


In closing, two items to remember:

Choose the correct adhesive for your project.

Remember to experiment with your adhesive of choice on scrap paper before using it on your final project. Adhesive is what holds together your project and you do not want your beautifully finished piece to fall apart!

Wednesday, June 01, 2011


We're having a BIG sale on Sizzix dies

Today, I'd like to direct you to our "June Sale" page on our website. Every month, we change it up offering a variety of overstocked products at greatly reduced prices.

This month, you will find a wonderful selection of Sizzix dies at 40% to 70% off. You'll find alphabet sets which normally retail for $149.99 maked at just $44.99! Some of my favorite items are the Sizzlits border strips, which retail for $19.99 -- on sale this month for $7.99!


Prices are limited to stock on hand. Some of these items will go quickly at these prices.

Enjoy!

Hugs,
-Fran
www.franticstamper.com
541-826-2500

Tuesday, May 31, 2011

Tip Template Tuesday: Swing or FlipFlop Card


The design team is interested in providing you the widest variety of crafting inspiration, instruction, and ingenuity we possibly can. We have been enjoying giving you our tips each week, but thought it might be kind of fun to change it up from time to time with a template instead. So today, we bring you the first in our Template Tuesday series. Don't panic! We still will be dropping those tips on Tuesdays... but occasionally will throw in a template, just for a change of pace.

Today we would like to share a template and brief instructions for a Swing (or FlipFlop) card. This version of the card when completed will form a standard 4 1/4" x 5 1/2" card when closed. Unlike the one shared by Joanne on last Thursday, though, this one will have a part of the swinging panel hidden by the front post when the card is closed.


Starting with a 6 1/4" x 5 1/2" piece of cardstock, and holding the card-stock in the landscape orientation, score the card at 2 5/8” and 3 5/8” from the left edge. With a pencil or disappearing ink pen, draw a line 1 1/8” from the edge around the entire piece of card-stock. Cut on the drawn line, between the intersections of the lines, up to the score lines (see template). Mountain fold first score line, but only between the cut lines and the card edges. Similarly, valley fold second score line. Attach cut 3 1/8" x 4" rectangles to front and back of center section of card to cover scored areas and reinforce swinging panel. Decorate as desired.

Sunday, May 29, 2011

Sketch Sunday: ATC #3


Today I have another ATC sketch for you. This sketch is for a miniature landscape, made with a torn layer, a stamped image, and a punched partial circle. Make a cold wintery scene with a snowman, or a hot desert scene with a cactus, or something in between, with flowers or a tree. This is YOUR ATC, do it YOUR way!

I hope you will enjoy this sketch idea and give it a try!


If you do choose to try it the design team would love to see your creation! Upload a photo somewhere (Flickr, Picasa, Photobucket, etc.) and then share a link with us in the comments. To share all you need to do is add the following codes to your comment, and then replace the word "link" with the actual link to your photo:

      <a href="link">My ATC</a>

Your comment will then contain the words "My ATC" which will link to your photo. The design team really looks forward to seeing your work!

Until the next time,
Kathy

Saturday, May 28, 2011

Something Special Saturday: Color Challenge #1


Color Challenge #1

I like to surf the web in somewhat unusual places to find inspiration for my creative side. I often surf gift catalog sites and magazine sales sites for layout inspiration or color inspiration. Among my favorite haunts are seed and bulb catalog sites; there is almost always some color or texture that grabs me. Today I would love to share a photo from Landscape Flower Bulbs, Inc. whose color caught my eye.


The design team challenges you to use the colors in this photo to create something... a card, a layout, a piece of jewelry, some wall decor,... whatever you want to make.

If you accept the challenge, the design team would LOVE to see what you make! Upload a photo somewhere (Flickr, Picasa, Photobucket, etc.) and then share a link with us in the comments. To share all you need to do is add the following codes to your comment, and then replace the word "link" with the actual link to your photo:

      <a href="link">My Color Challenge</a>

Your comment will then contain the words "My Color Challenge" which will link to your photo. The design team really looks forward to seeing your work!


On another note, I'd love to share a link to a wonderful card by design team member Joanne Wardle. This is a very clean and simple card using a hot air balloon stamp from FranticStamper's own line of stamps. I think you'll love the card. If you do go visit, please be sure to leave Joanne a note to let her know how much you love her work.

Until the next time, for the entire team,

Smiles,
Kathy

Friday, May 27, 2011

Set of Three Spring Cards (Design Team Project)

by Sharon Jeffs

Set of Three Spring Cards


I love spring. Although it’s very cold where I live right now, it’s nice to know that on the other side of our planet someone is enjoying the spring that I am missing.

I love the sudden emergence of life when spring comes around. The birds begin to sing from the trees and the ground blooms with flowers. To celebrate this I decided to create a spring inspired set of cards.

I actually prefer creating sets of three cards at a time. It means that I use all of the supplies I had reserved for a card so that I don’t have as much leftover scraps. It also means that I have three cards to giveaway rather than one. Whenever I begin, I like to tie in the theme across each card by using either the same colour palette and/or similar techniques.

For my first card I began by inking a white base card with coordinating inks. I used patterned papers from the Pink Paisley ‘Butterfly Garden’ collection. Once it was cut out I stamped three bird images along one side in a light coloured ink. I used an Inkadinkadoo ‘Inchies set’ that featured bird images. cut up all my pieces and inked all the edges for a grungy effect then layered some blossoms across the card (I kind of thought this was prettier and more ‘spring’ than just a bit of ribbon) then added one of the pretty bird stickers from the K & Company ‘Blessings of joy’ range. I love these stickers because they have some dimension to them as well as having a very vintage feel to the images.

<

With my second card I also began by inking a white base card. I used more patterned papers to create a background on my card and even a wide mat for my stamped section that I then curled the edges of. In the stamped section, I only stamped the top and bottom image so that I could add the ‘hope’ sticker to the centre of this strip. To finish off I then coloured my stamped birds and added a bird’s nest sticker.


For my final card I once again inked the edges after covering the entire surface with a piece of patterned paper. To tie my last card in with the other two, I decided to create a curled edge mat for another piece of patterned paper and I cut a few blossoms in half to adhere to a few parts of the curled edges. I finished off by randomly stamping some of the bird images in the centre paper then adding another bird sticker to finish my card off.


These cards only took me about an hour to put together. The stickers made my cards so much quicker to create. I love the idea of creating a set of cards to giveaway rather than one so that I won’t feel so guilty when I can’t part with a card.

Thursday, May 26, 2011

Technique Thursday: Make a swing card without a template


by Joanne Wardle

How to make a swing card without a template.

I have seen many designs for swing cards that just don’t work properly. To me when a swing card is closed you should be able to see all of the front of the swing piece and none of it should be hidden under the left hand “bar”


To achieve this you need to follow very specific, but simple, measurements. There are a few basic rules.
  • The swing shape needs to be vertically symmetrical.
  • You need to be able to measure its widest point, and divide this measurement by 4.
    • The key to this is find this measurement, make a note of it, and from this point just consider it a “chunk” or “measure” as all further measurements will just be a multiple of this.
    • In the sample I have made I have used a 4 inch square, as this is the simplest shape to explain it, but you could just as easily use a heart or circle, and any size can be divided by four.
  • The height of the shape and the final card are unimportant.
  • The width of the final open card will be twice the width of the shape.


Okay, so here’s what you do.
  • Take a template of your central shape and find the quarter measurement (call this 1 measure) and then mark up as shown.


  • Take your card, which is twice the width of your central shape, and split into 8 measures. Draw in the swing post between measures 3 and 4 as shown.


  • Line up your template so that the lines you have drawn match. And draw around the template


  • Now cut and score as shown (red lines are cut, blue lines are score)


  • Fold the blue lines as showm

Basically that’s it! But here’s a few more pictures to explain it, if it’s not yet clear.


All of the products used to make the final card, are available from the frantic stamper.

I’d love to see any cards you make using this method. Hope you enjoy it!
Joanne