I'm always in need of Thank You cards but never have any on hand. When I saw this die I knew I had to have it. Of course I had no idea how I would use it but just started out with a 5 1/2" x 4 1/4" base. After scoring and folding the base I used the THANKS card band die. On the back side I glued the a single piece of red cardstock. I wanted to add some more depth and dimension so I used the Stitched Bracker Edger. If I haven't said it before, I'll say it now...I love stitched dies! I fished around in my embellishments and found ribbon, flowers and bling to put on the finishing touches.
Today I have a bright card to share! St. Patrick's day is coming up (March 17th) and in honor of that holiday, I've put together a cheery card. I knew when I pulled out the Frantic Stamper Shamrock Card Panel die that I wanted to incorporate a rainbow into the card along with it. It just seemed appropriate! To create the rainbow background I used a piece of watercolor paper and then painted the watercolors onto my background with my water brush.
I die cut the Shamrock Card Panel from a piece of glittered fun foam with an adhesive back. I found this at Walmart. It was the perfect way to use this die because it not only gave me some dimension but it was also easy to apply the delicate cuts to my card front! I used one of the negative shamrock pieces to adhere to the vellum tag.
Tip: As I was peeling off the negative pieces from the die cut panel, I saved the whole shamrocks. Since they had adhesive on the back side, I put them on a piece of acetate to save for a later project. Instant sticker sheet!! I have a feeling that my 6 year old daughter is going to get a hold of this before I have a chance to use them! :) This is such a BONUS to this die!
I hope you enjoyed this rainbow bright card! :) Thanks for stopping by!
It's time to think about Spring! This new "Easter Scene Card Panel" die that is now available is just the thing to kick start those Easter Card giving ideas!
I started by die cutting the scene from shiny gold cardstock. When I saw all the detail that emerged, it was clear that the card had practically made itself! I decided to use an embossing folder to add some fun texture in the background so I cut a teal panel the same size as the gold scene, embossed the teal panel and layered it under the scene. I added the panels to a white card base, sprinkled a few pink sequins (because there's no such thing as too much bling!) and seriously, that was it. Done! I'm so impressed with myself! LOL!
What a great way to get a stack of holiday cards done! This is going to make my Easter Card giving tasks so easy!
Today we have a beautiful Easter card for you from our special contributor, Pam Sims. Pam has created this card using the Frantic Stamper Chicken in an Egg and Easter Lily dies. Isn't the card just wonderful?
You can read more about how she made this card at her blog post, "Easter Chicken". Please be sure to leave her a comment to let her know how much you enjoyed it.
Hello! I have something fun to share with you today...my very first video tutorial!
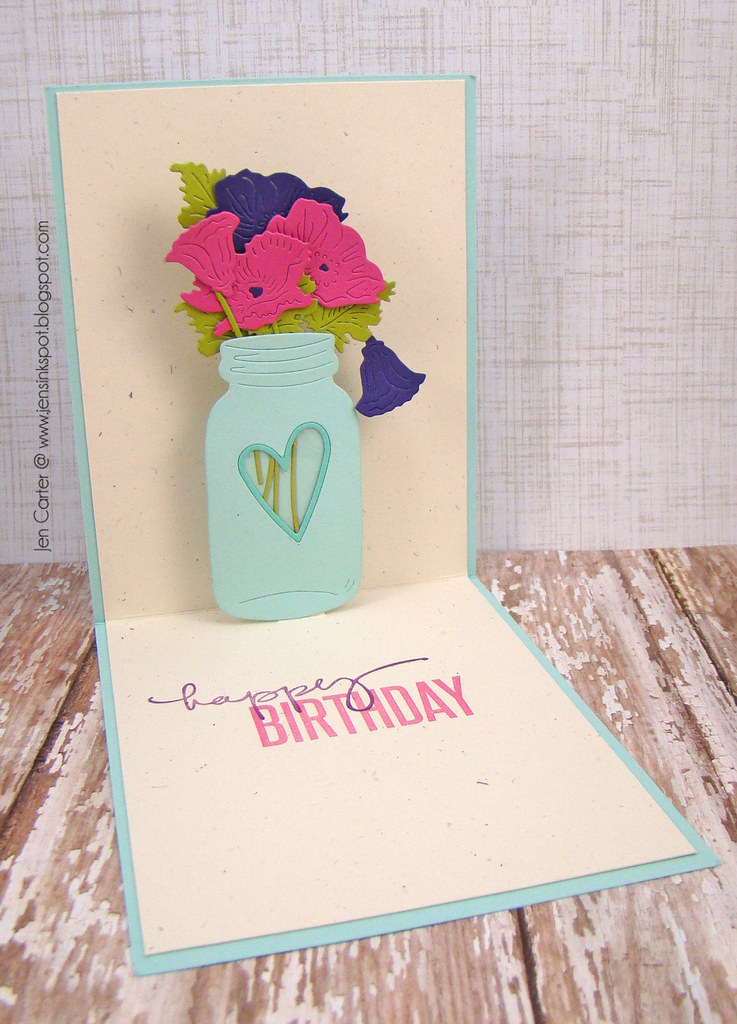
Frantic Stamper recently released a fun set of dies called Pop-up Card Bases which is a set of 7 dies that you can use to add pop-up & other interactive details to your cards. If you're wondering how to use these dies, this video will hopefully help! It's my first video as I mentioned above, so please excuse the rough editing! I'm learning as I go! :)
Above you can see a photo of the inside of my card. I'll be showing how to use the dies to create a pop-up card like this. I hope you enjoy it!
Here's a few more pictures of the card.
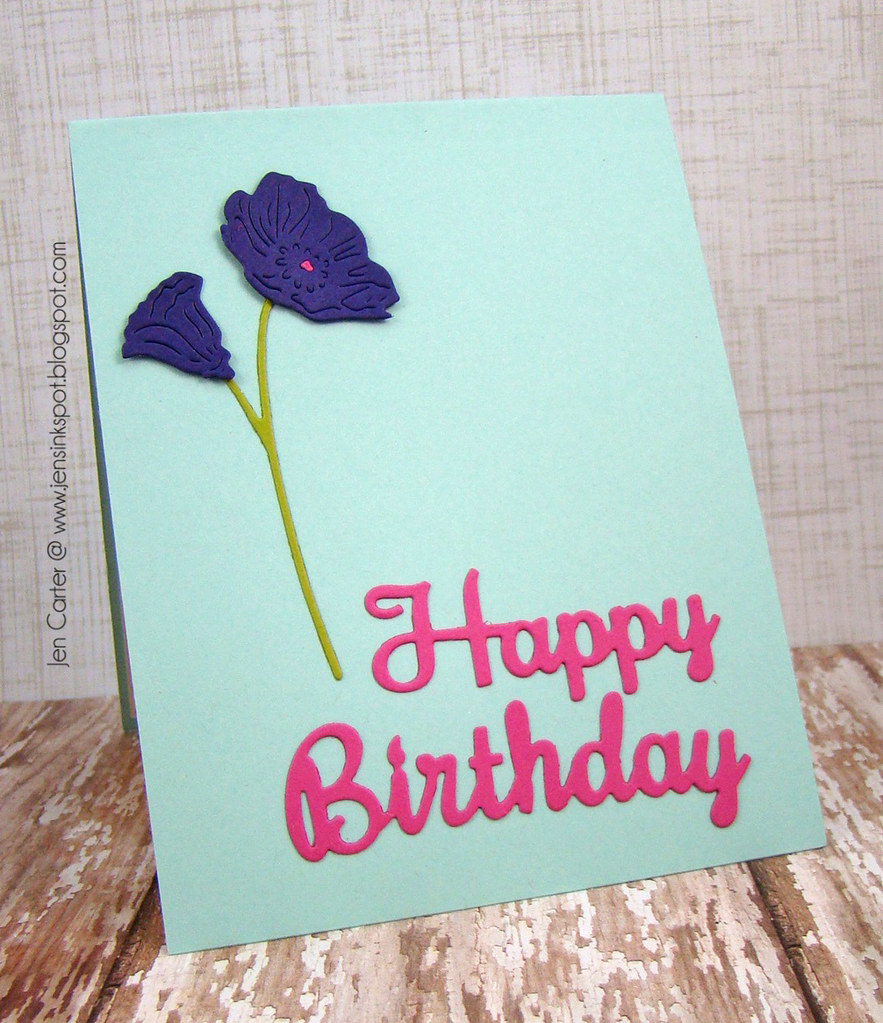
This is the front. I kept it very simple and in the same colors & theme as the inside of the card.
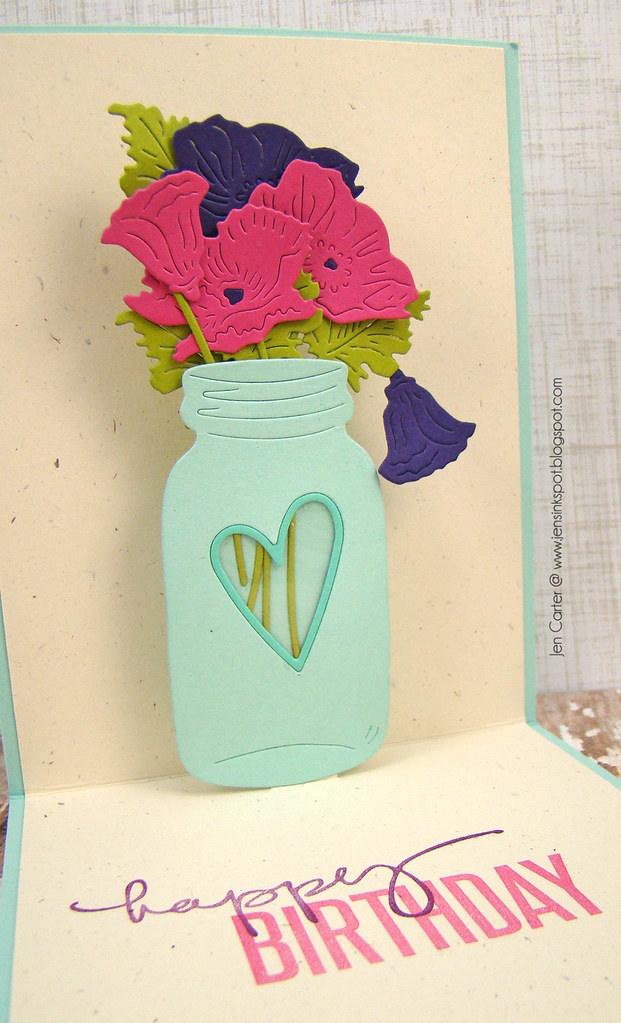
When you open it up, this is what they'll see. What a fun surprise!
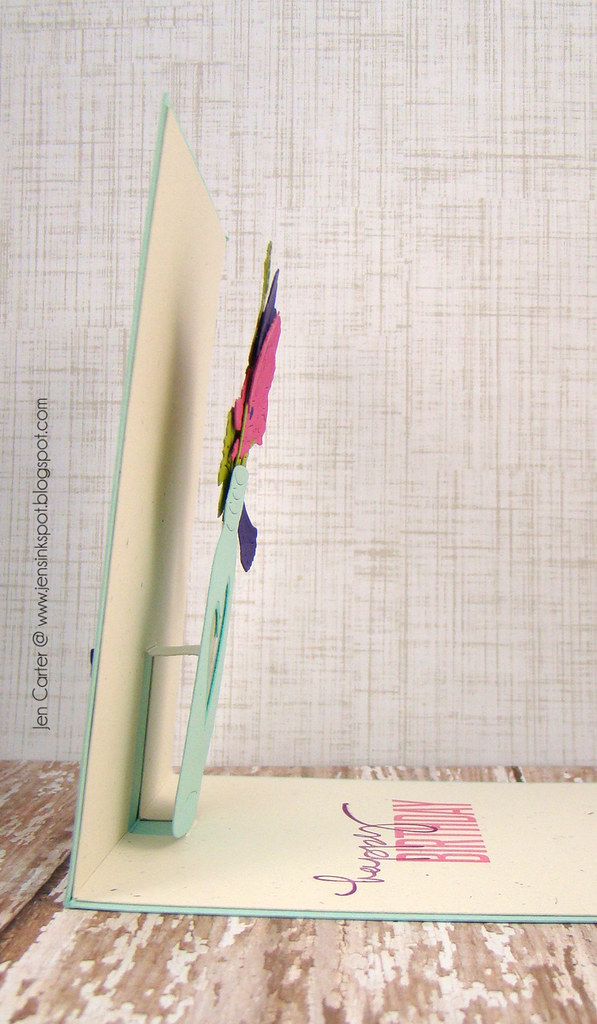
You can see here how flat I kept it so that it will fold as flat as possible and still fit in an envelope.
We'd love to hear if you like to see videos. Do they help you? Do you take the time to watch them? Would you like to see more?
Hello Frantic Stamper Fans! Im back with a Patriotic card to share. I love this fabulous Stars Background Die by Frantic Stamper. It cuts beautifully (leaving extra little stars to use for other projects), it's stars interlock making this a fun and versatile die. It's perfect for creating eye-catching, lovely backgrounds on Patriotic, Birthday, Congratulatory, Thank You and Baby Cards, Scrapbooks and Paper Projects.
I used the Star Card Panel background as my card base. I folded white cardstock base in half leaving the Star die slightly over the edge of the base. This unified the front and back panels. I then added Blue Silver Star Vellum behind the back side and folded heavy White cardstock in the middle for adding a place to write as well as give strength to the base. The sparkly patriotic heart is a lovely Charm pendant that is easily removable for adding to a bracelet or a necklace. Card is simple with only other elements as ribbons and Silver Cording, but it sure makes a statement. :)
When I received this Bubble Card panel die I didn't have a clue how I'd use it. Luckily one of my design teammates, Jen Carter, created a fabulous card with the Shamrock Card panel. I totally scraplifted her idea.
I wanted to create a vintage-inspired card so I started out with the brown tones. After cutting the panel I intentionally left some of the cut-outs in place; I like the dimension it adds. I added a sentiment from my stash cuttung it using Vellum paper and the Flag Trio Set of dies. Finally I added a few Tim Holtz embellishments (Ideology Corners and Mini Paper Clips).The digital image is from A Day for Daisies.
It is with a bit of sadness that we bid farewell to Amy Kolling, one of our Guest Designers. We really loved her contributions to the team and we hope that she will join us again sometime in the future. In the meantime, we wish her well as she goes forward. Thank you, Amy, for being a part of our Team for the past quarter. It was fun having you aboard!
Thous sad to be saying "so long" to Amy, we are thrilled to be welcoming our newest Guest Designer. Meet Jeni Allen. We are excited to have Jeni join us for the next three months or so...
Here is a brief introduction to Jeni, in her own words.
My name is Jeni Allen! I live in the beautiful state of Washington with my husband (we're celebrating 15 years of marriage this year!) and 5 kids. I am a crazy busy momma, and I love every minute of it!! My kids range in age from 12 to 9 months old.
I started stamping about 15 years ago! I've always enjoyed being creative and working with paper/stickers/and such. After I was married in 2000, I started dry embossing with my light table and metal stencils! I soon moved to foam stamps...and the rest is history!! I love being creative and find so much JOY in sharing what I love!
I am super excited to be working with Frantic Stamper for the next few
months! I've got a list a mile long and am thrilled to get to share their
great products with you!!
We at Frantic Stamper hope that you will join us both in wishing Amy well and in welcoming Jeni. Please leave comments for them below...
Once again it is the 25th of the month. In the spirit of trying to get our holiday cards made ahead of the season, we are making and posting cards every month on the 25th. We hope you will join us in making a card today. Here are a couple of cards from team-member Ann Greenspan.
A Merry Poinsettia Christmas
by Ann Greenspan
I think poinsettias are so beautiful, especially in a church all lined up on the altar. I had this poinsettia paper for a long time and never knew what to do with it until I saw the Mix 'N Match Merry Christmas die (FRA-DIE-09068) from Frantic Stamper. When I cut out the die in red shimmer paper and held it up to the poinsettia paper, it blended in with the background paper, so I cut a tag out of a more solid colored paper and put the words partially on the tag.
When the first card was done, I sat back and looked at it for a minute. I wanted the words Merry Christmas to stand out even more so I made another card using the same background paper but this time using a lighter colored tag behind the words. I think the words stand out a lot more on the second card.
The poinsettia is a pre-made embellishment but Frantic Stamper makes a lovely poinsettia die (FRA-DIE-09283) that I could have used, but I just wanted to use up my embellishments this year.
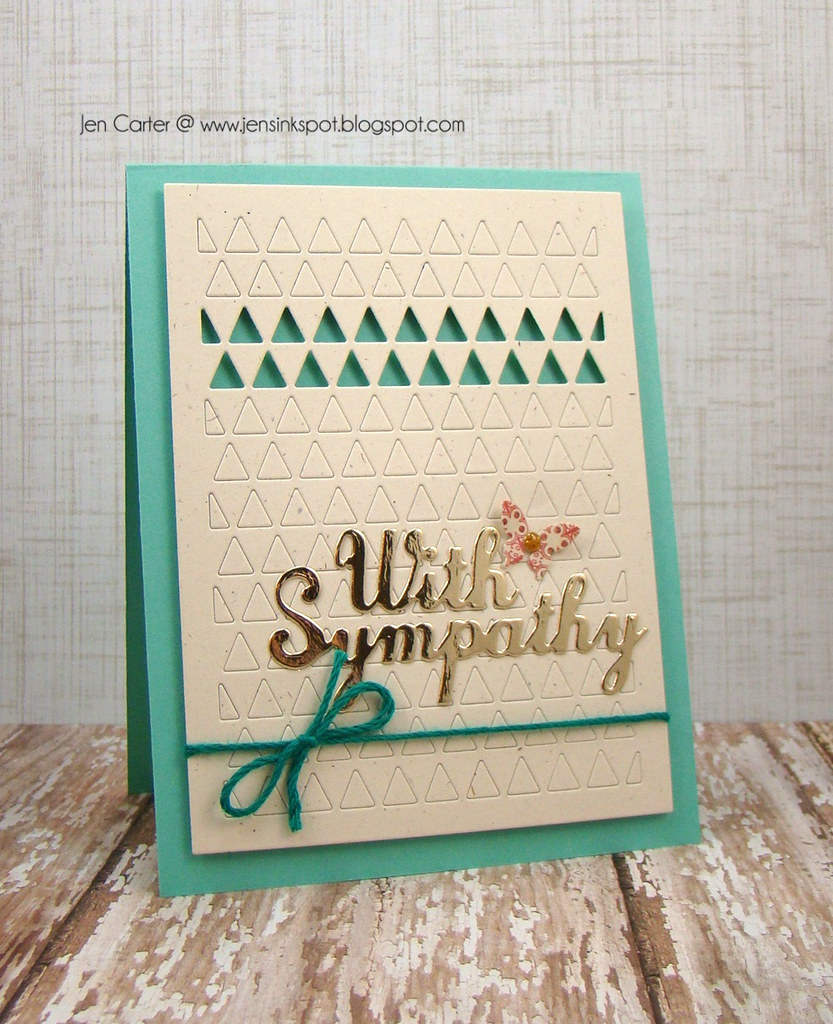
Sympathy cards are never fun to make. Finding something appropriate can be very difficult. And because they aren't fun to make, I don't usually have any on hand when I need them. With that in mind, I made two different versions of the same card using the Frantic Stamper Small With Sympathy word die.
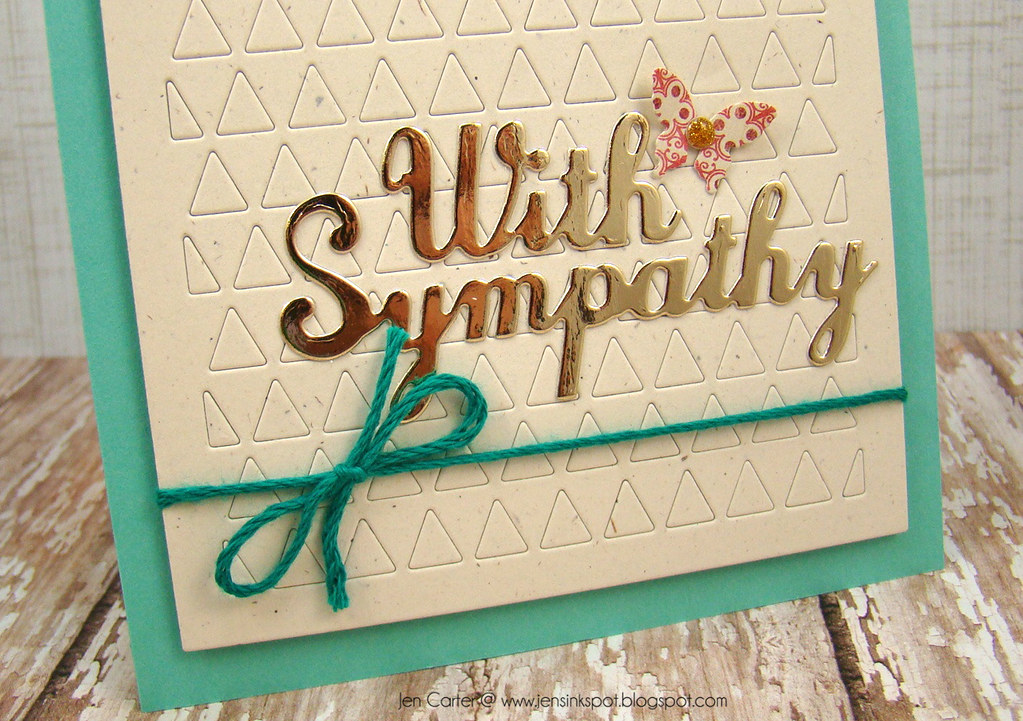
I created the background with theTriangle Card Panel die. I really like how versatile this die is! I chose to leave most of the triangles in place (I taped them on the back side of the cardstock so that they would all stay in), and only popped out two rows. You can see here that when I was finished with the card front, I popped the triangle panel up with dimensionals.
I die cut the small With Sympathy with gold cardstock. Then, I added a small butterfly from the Petite Butterflies die set and added a gold glittered enamel dot to the center. I tied a piece of twine around the bottom of the card front to finish it off.
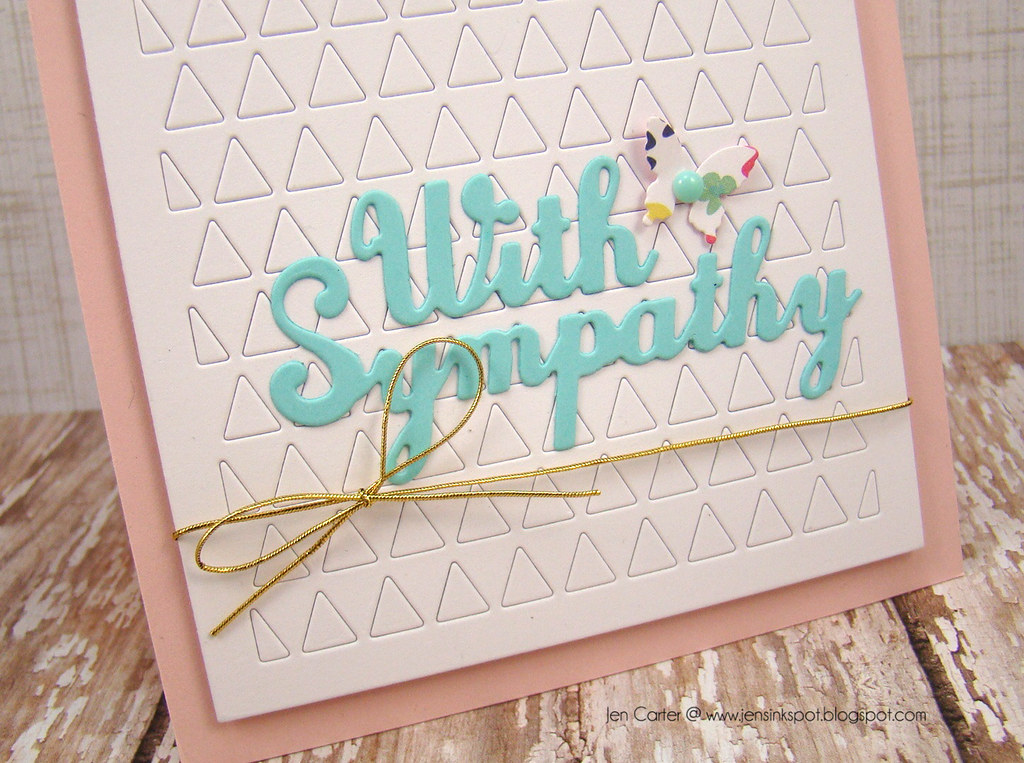
This card is almost identical to the first, I just changed up the colors for a more feminine look.
I still incorporated the trendy gold into my card, but this time as an accent bow.
I hope that this gave you some ideas on how to work with those very difficult Sympathy cards!