Today we are ready to share our upcoming HUGE release of Christmas and Holiday dies and clear stamps. They are available for preorder today at FranticStamper.com.
Check out the dies and stamps that are included in the release, along with wonderful samples made by the world's greatest design team, in this video.
We hope you have enjoyed seeing what we have available for you for the holiday season, and we hope to see you back here next month for our October die release video, as we continue forward with a monthly release schedule.
Frantic Stamper has recently released a whole set of dies with a beach theme. You can check out all of the dies in that release here. For today's card I went with a sea theme, using several of these new products. I die cut the seagulls with a die called Flying Gulls.
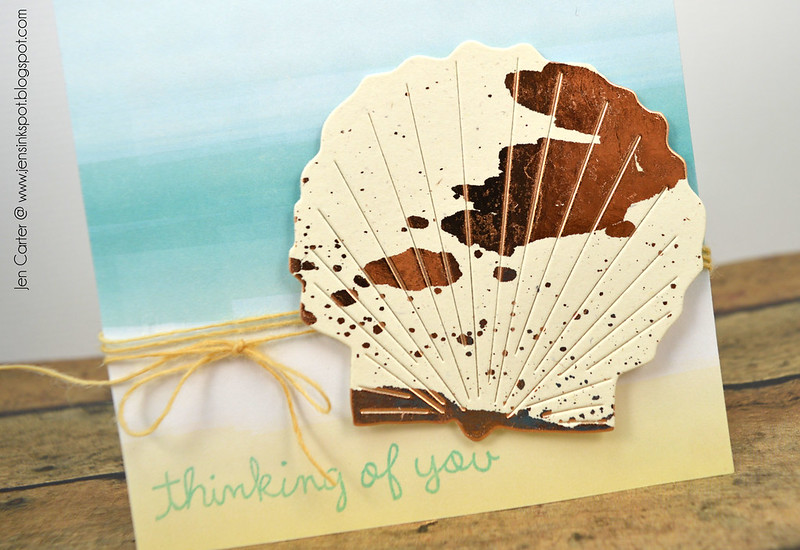
This new Scallop Shell has so much detail built into it! I love that about the Frantic Stamper dies!
I used a new technique (to me). I used some Heidi Swapp Reactive Mist Spray on a piece of ivory cardstock and ran that through my Minc Machine with gold foil. I then die cut the shell from that paper. I really like the look it gave the seashell! I then attached it to my card with dimensionals.
A new die release, A Crisp Fall Day, is available for pre-order at Frantic Stamper, shipping August first. To preview this release and some wonderful cards made by our design team, check out our new release video:
We are happy to announce our latest release of dies for Halloween, our mid-July 2016 die release, which are available now for pre-order, shipping on the 15th. We hope you will enjoy the following video we put together to showcase these new dies with cards made for your enjoyment by our fantastic design team!
Today we have another release video to share with you, Faith and Sympathy, two of our more highly requested subjects. The dies are available for pre-order, shipping on the first of July.
I LOVE the Retro Card Panel!! There are so many different ways you can use it!
For my card today I decided to create a shaker card. I took a piece of black cardstock and placed double sided tape on one side and then ran the panel through my die cutting machine, so that it would create a sticker. Then I was able to take the sticker panel and adhere it to a piece of acetate to create my shaker window.
If you watched our most recent slideshow video, A Day at the Beach, you saw several cards from Ginette Bourque, our newest special contributor. Her work is absolutely amazing! She finds ways to use multiple dies or parts of dies to add perfect details to her beautiful scenic cards.
Here are two more of her fabulous cards that she created for our Day at the Beach die release.
First up is a beautiful scene set with our new lighthouse as the star of the show.
Next we have our surfers riding a big wave. For this card Ginette started with a free image from the web, and modified it with WOW Glitter White (surf), Micro Beads White/Clear (surf), Stampendous Fun Flock (sand), Cork Sheet (beach), and Glassine paper (surf). Finally, she added our three surfers.
Today I am sharing a card using the Flip Flop die from the Vacation at the Beach release. This card also uses another die from this release called Life is Good. It contains the words Life, live, is, a, good, sweet.
I cut several sets in different colours and used them to make my background to sit the flip flops on. This is a great way to not only use word dies and scraps of card, but to create your own background paper. It makes these dies just so versatile.
Hi crafters! Say Hello (no pun intended) to one of Frantic Stampers recent release from the Retro Cool line. This super cute die is the Large Retro Telephone each piece is carefully designed to resemble an actual telephone. Super easy to use and piece together for a clean and fun card!
Hello! Today I have a card & video to share using die cut card panels as a way to create embossed frames & backgrounds on cards. I LOVE finding ways to get more use out of my stamping supplies! Using a die to cut & emboss is a wonderful way to get more bang for your buck! It makes the dies so versatile!
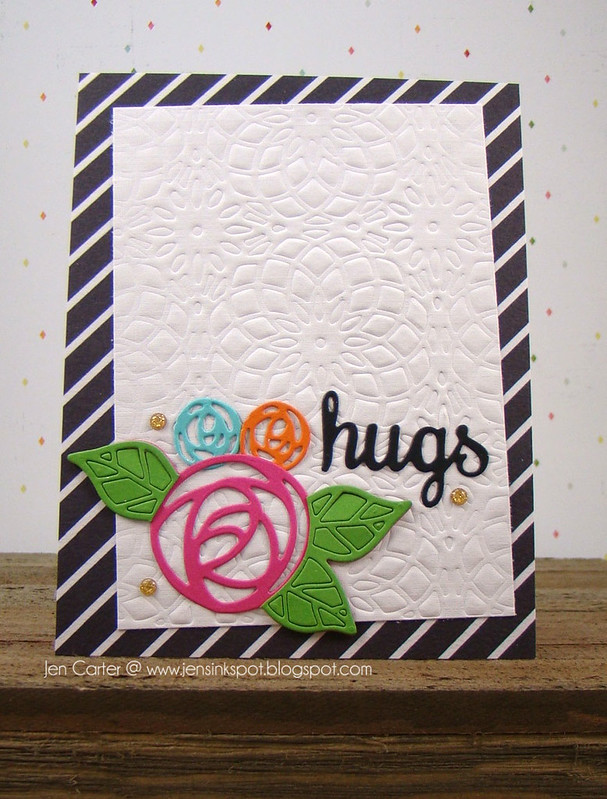
First up is a photo of the card I put together in the video.
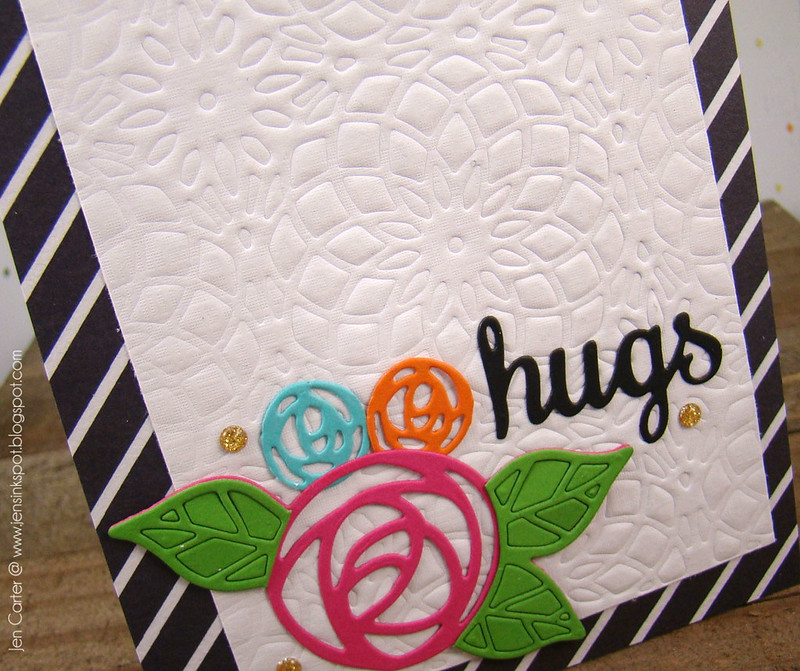
I've used the Floral Eye Dazzler Card Panel Die to emboss the image onto the white background piece. I LOVE how this looks on the white paper! And the neat thing is that the back side of this paper looks equally cool only different (you can see that in the video). I used the Scribble Roses dies to create the flower and the cute "hugs" sentiment is from the Accessory Words #3 die set.
Don't you love all of that detail...from a die!? It makes the die that much more versatile!
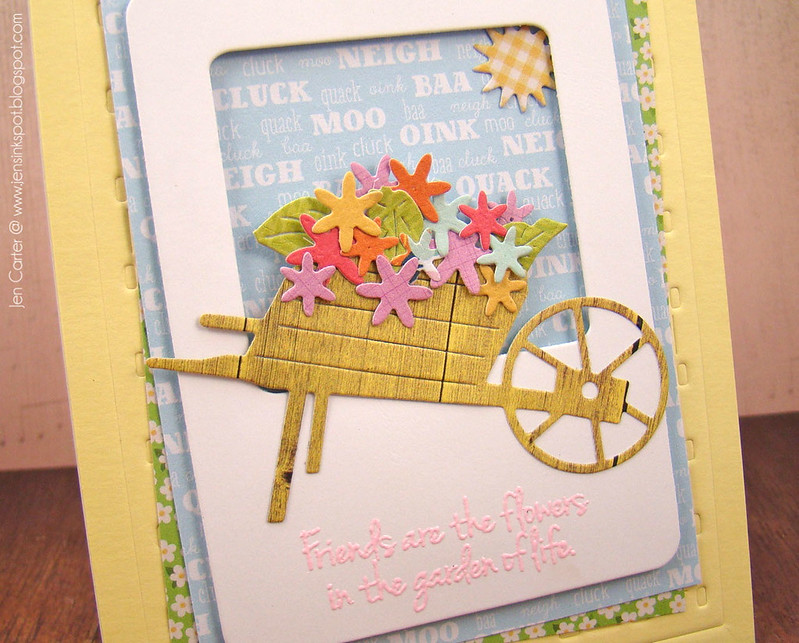
Next up is this card that I created using the same technique only this time I've layered on top of it so only the edges peek out. To create the card I've used the Instant Camera 3x4 Photo Card die & the Wooden Wheelbarrow die. The flowers are die cut from the Singing in the Rain die set.
You can see a closeup here. I've used the Basket Weave Card Panel die to create the embossed frame.