Using the Woven Ribbons Card Panel, die-cut several colors of choice, using solids and prints. Back the frame cut-out with double-sided adhesive tape (Scor-Tape, Stick-It, etc.) Start the inlay work using different colors and patterns.
Layer your finished panel using colors of choice to compliment the panel. Adhere to white card front.
Die-Cut Quad Love die from foil (color to co-ordinate), adhere two of the words to card panel.
Adhere flower of choice. Voila! Super simple card. You will absolutely love this Woven Ribbons Card Panel die....
Hello! Today I have another video to share with you. It has been requested by quite a few customers for a video on how to use the new Woven Card Panel die and I thought that that was a request I could help out with.
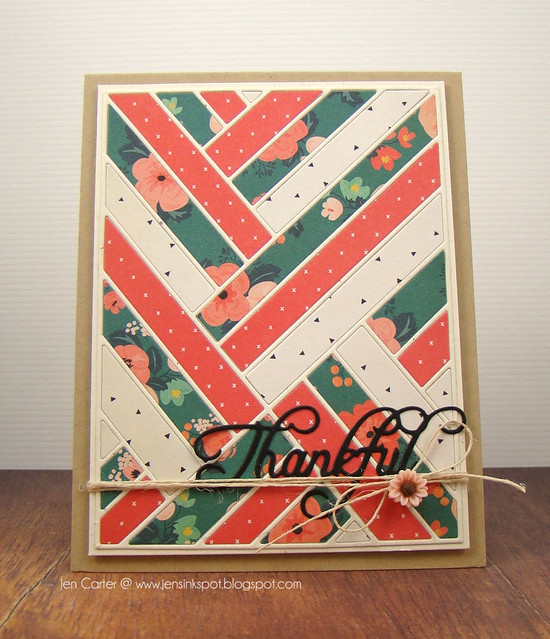
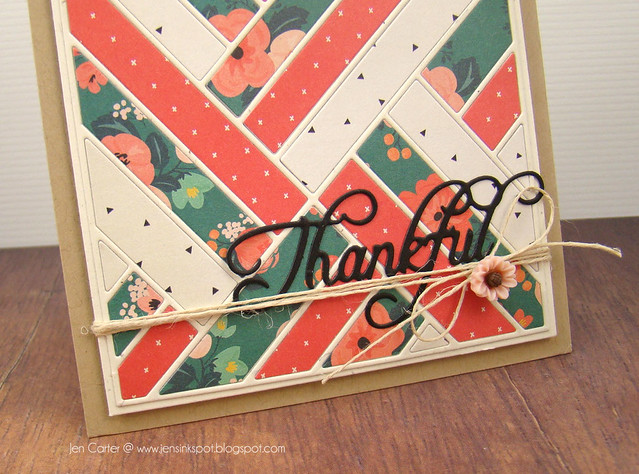
Below is the finished product of the card I made in the video.
As I said in the video, I chose three coordinating papers from my paper pad. This is an easy way to choose coordinating papers, since the papers in the paper pads are made to coordinate with each other. I chose the darker green as my dominate paper and used the longest strips from this paper on my card. The other two papers were used as my accent colors.
To easily adhere the detailed grid outline (not the inside pieces) I recommend using Stick It! that you can also purchase from Frantic Stamper. You won't be sorry!
I didn't want to cover up the front of the card and distract from the pattern that the die creates, so I went very simple and added the Thankful word dieas my sentiment. I also used Stick It! to adhere this word also. I added a little bit of hemp cord and a little resin flower as a small accent.
Thank you for stopping by today! I hope you enjoyed the video!