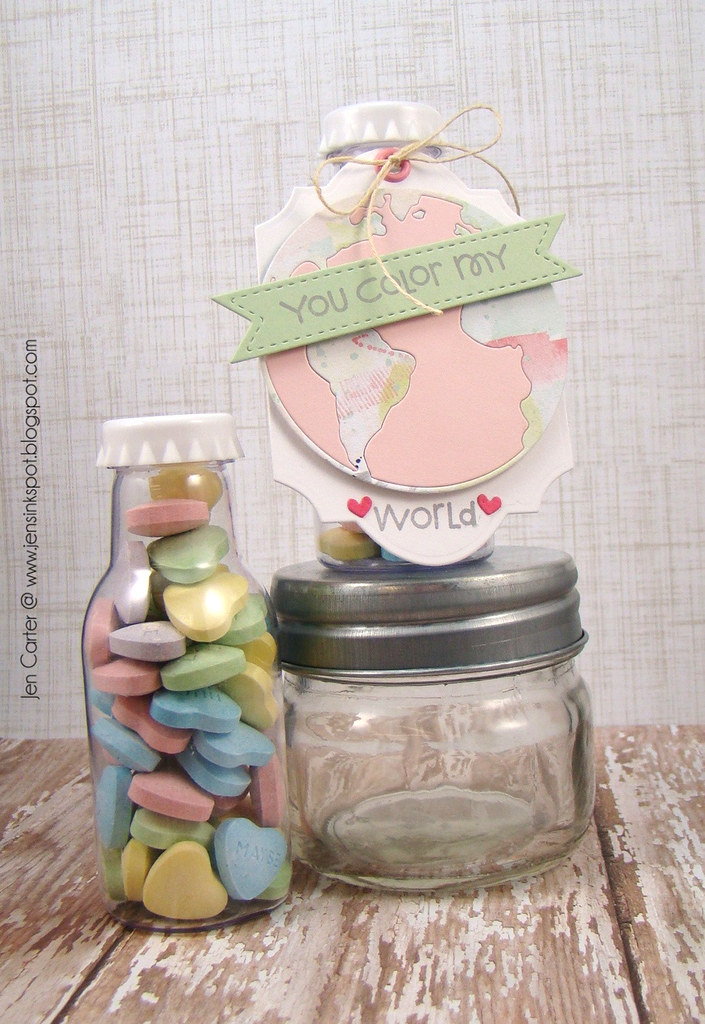
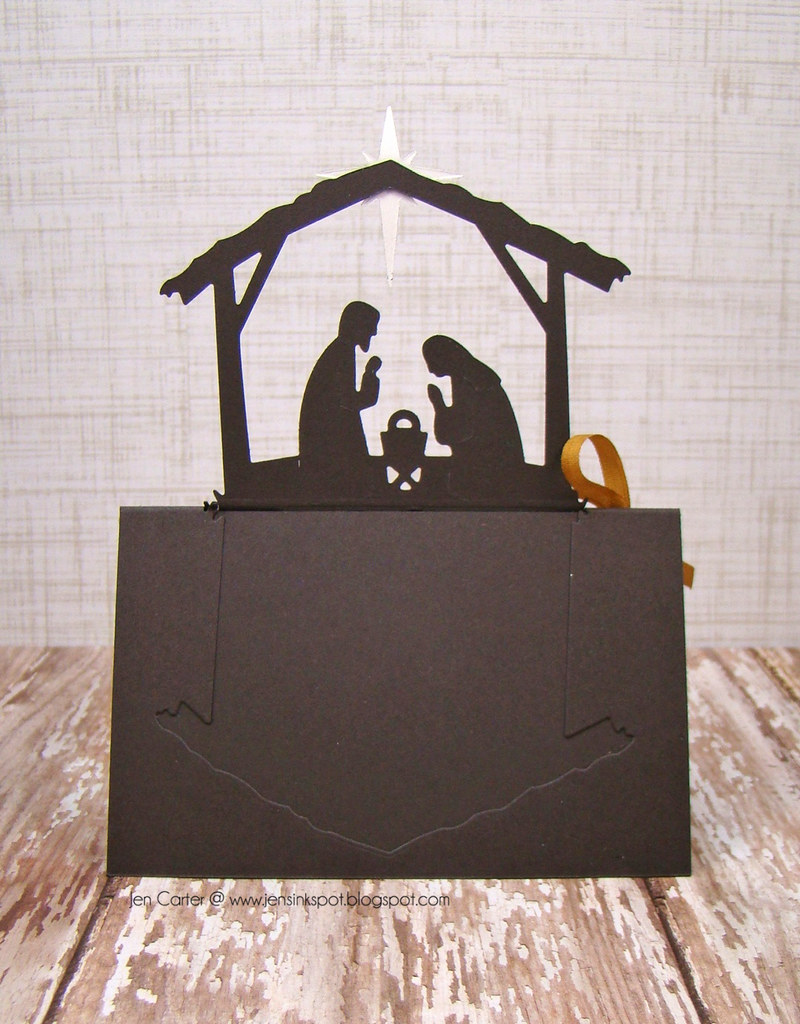
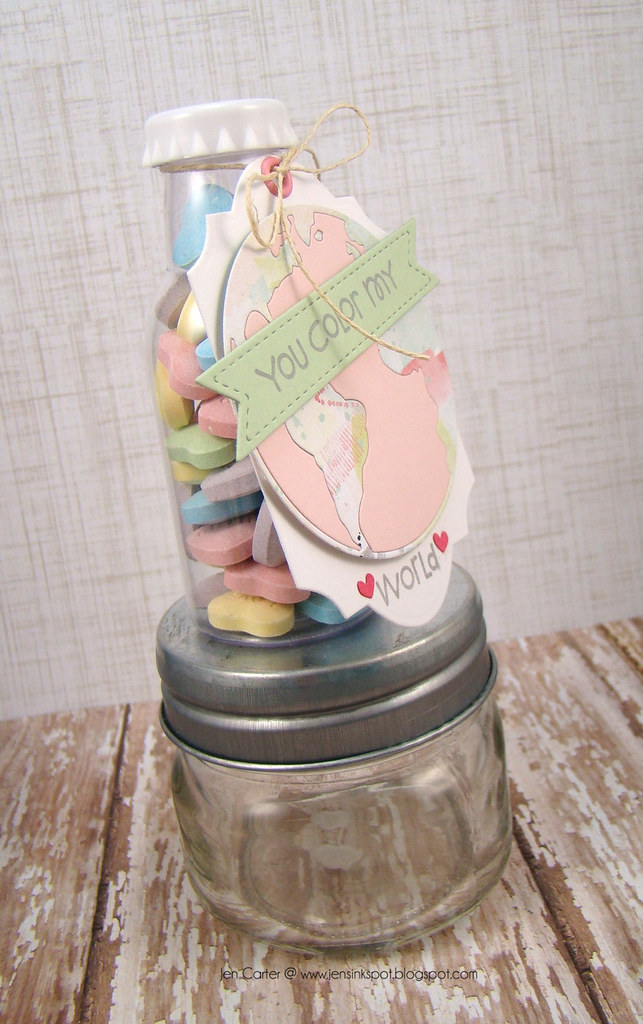
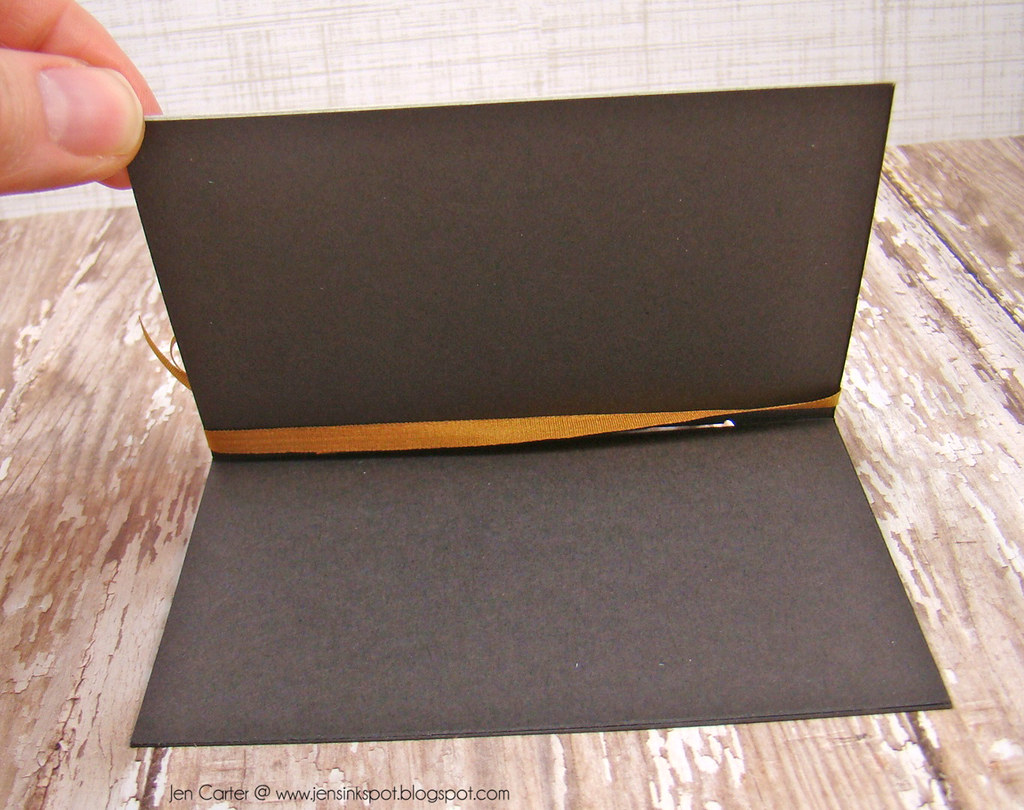
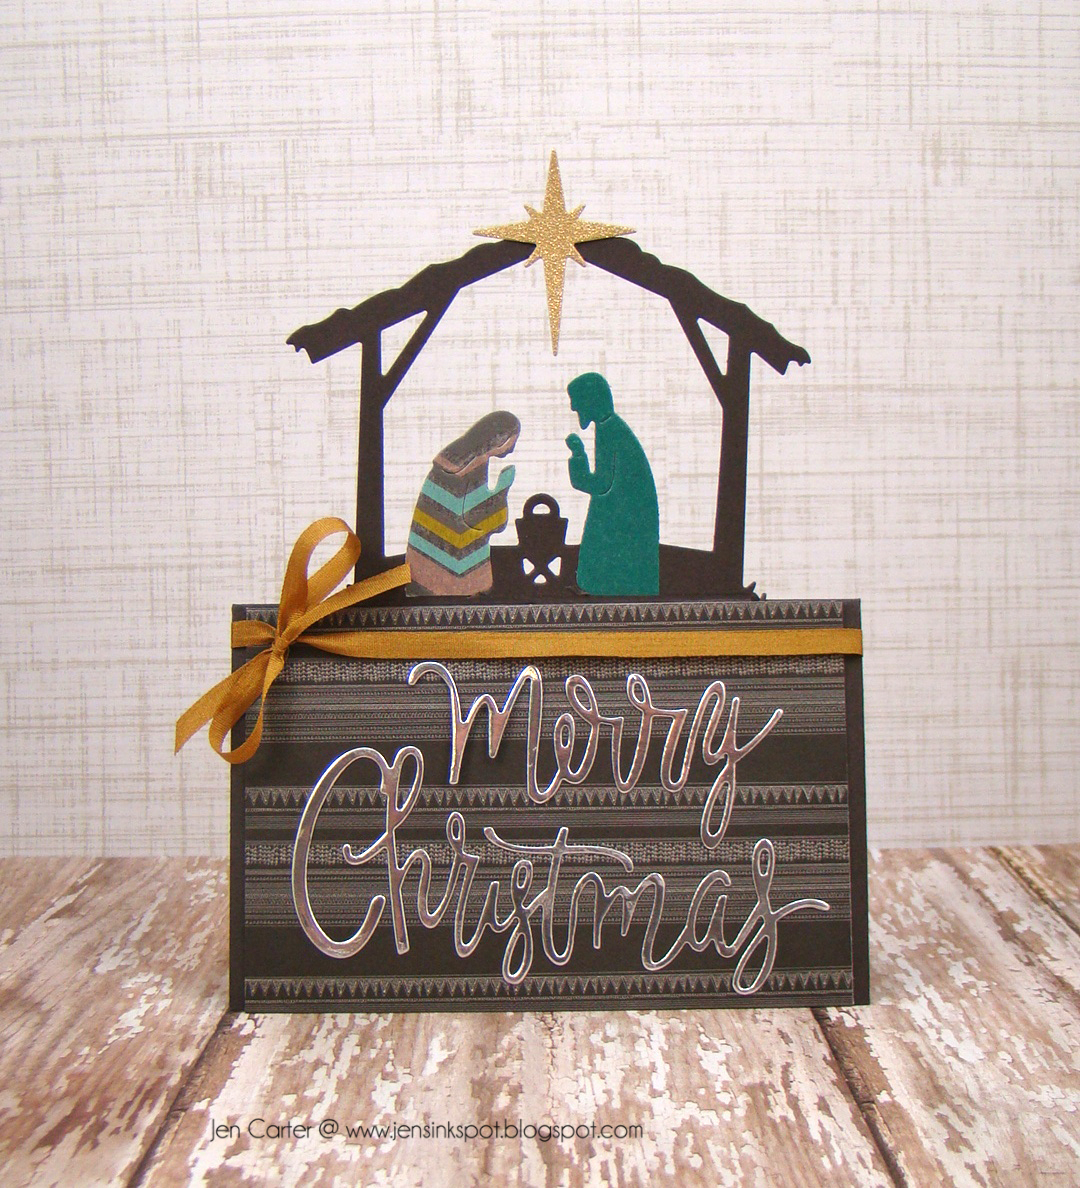
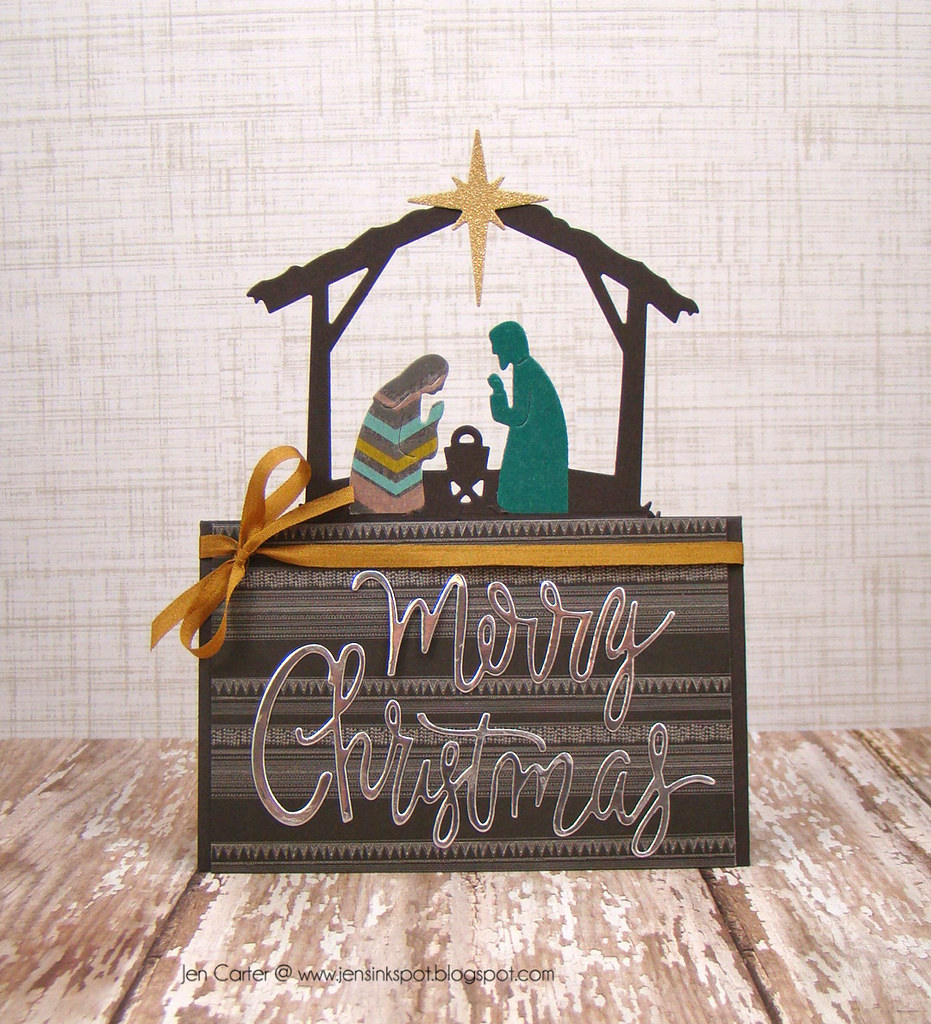
Saturday, January 31, 2015

Handwritten Love You Baskets and Card (Ann Greenspan)


front side


back side


matching card

Handwritten Love You Baskets and Card
by Ann Greenspan


Every year I make a bunch of these heart shaped baskets to give to the children at a local hospital on Valentine's Day.  This year I am using the new die "Handwritten Love You" by Frantic Stamper.  It has the look that someone actually wrote the words with a pen and not the look you would typically get by using a die.  I guess you could say our designer, Kathy Berger, is responsible for this.  Maybe it is her handwriting?  I have to rely on the die, myself, because my handwriting is not that good at all.  I made both a card and basket with this die.

To start off,  I use the largest die in the Sizzix Scalloped Hearts set and cut two out using a medium to heavy weight cardstock.  You could also use the Spellbinder Heart Nestabilities but the largest die in this set is not quite as large as the largest Sizzix die, and I like my baskets to be as big as possible to hold more.


To embellish the front of the basket, I cut out the next smallest die in the set with red cardstock.  Next I placed the Frantic Stamper Handwritten Love You die right inside the red scalloped heart and ran it through my Sizzix Vagabond machine.  To get the white scalloped heart, I traced around the die that I used to cut the red heart with and then manually cut it out.  It is just slightly bigger than the red heart and gives a nice layered effect.  It also makes the area that was cut out using the word die show through.

To make the basket itself, I dry embossed both of the large pink scalloped hearts using a Cuttlebug mini hearts embossing folder. Next I adhered the "loops" of the Handwritten Love You back into the negative space of the cut out inside the red heart.  I also used the red words that were cut out from this heart and put them on the back side of the basket.


At this point you want to cut off the bottom scallop on the two big hearts so they will allow the box to stand up.

Before assembling the basket, I like to embellish the front completely so when pushing down to adhere any embellishments, I won't squish the basket.  Once the front and back are embellished you are ready to work on the part that holds the basket together.

Cut a strip of cardstock 8' x 3"; I cut mine in pink to match the pink hearts.  Place the strip of paper landscape (horizontally) on a scoring board and score at 3 1/2" and 4 1/2".  Turn the strip vertically now and score at 1/2" and 2 1/2".  Cut tiny triangles out of the strip as seen below.  The cuts are right at the 3 1/2 and 4 1/2 score lines, but only cut up to the 1/2" score line on each side.


Place some double sided tape or glue along the edges of the strip as shown below.  If you are using designer paper you will want the tape to go on the good side of the paper.


Now you are ready to adhere the front and back hearts to the strip.  Place the strip in front of you horizontally with the tape facing up.  Line up one heart to the very middle, small section of the strip with the two triangles on each side.  Do not let the bottom of the heart fall below the 1/2" horizontal score line.  Adhere the heart just above that score line and centered between the 3 1/2 and 4 1/2 score lines.  Do the same for the other heart.


Turn the basket over and remove the backing from two of the tape strips that are along the same 1/2" horizontal score line.  One heart will be flat on the table.  Bring one side of the basket strip to the heart on the table and line up the edge of that strip so that you can't see any of it along the scalloped edge of the heart.  If it's too close to the scalloped edge, you will see the strip once it's assembled.  Do the same for the other side, pressing down on the adhesive to make sure it sticks.


Here is another picture of a different basket that better shows the sides of the scalloped heart and how you want a little of the scalloped edge to show:


When the basket stands up, it should be able to balance itself.  We are now ready to put on a handle.


You can use either a stiff piece of wide ribbon, at least 1 1/2" wide and 12" long or make your own.  Below is how you can make an easy handle for the basket using an edge punch.

I am using the Martha Stewart Lace Heart edge punch. Using a strip of cardstock that is 12" long x 2" wide, we are going to symmetrically punch both sides of this strip, one side at a time.  Turn the punch over on it's back side and place the paper in the edge punch so that one end of the strip lines up right at the very left side of the punch when looking down through the punch.  This is the most important part of punching symmetrically -- to have the proper starting point when punching both sides.


Hold the paper in place and make your first punch.  Turn  the punch over so you are looking at the top side of it and slide the paper to the left so the 3 punched out hearts line up exactly inside the hearts drawn on the punch itself.  Continue punching and sliding the paper so that it lines up perfectly with those hearts printed on the punch.  If you are ever in doubt whether you are sliding the paper far enough, you can always turn the punch back over, look through the back side, and make sure that you don't see any already punched out hearts within the punch.  If you do, you need to slide the paper further over.


There are no punched hearts showing "inside" the punch area, so you are good to go.

When you reach the end of the strip, it should look like this on one side:


Notice you have a full heart on one end and just half a heart on the other end.  This is important to note in order to be able to line the paper back into the punch to punch the other side.

Using the end of the paper that has the "full" heart on the end, place the strip back into your punch with the straight side of the paper toward the bottom of the punch and the already punched hearts at the top of the punch as in the photo below.  Make sure the left end of the paper is lined up inside the punch so that the very end of it is at the left edge just like when you first started punching the other side.


Continue punching and looking at the back side if needed until the entire edge is punched and looks like this:


When adhering the handle to the basket, you want to place the adhesive on the good side of the handle at both ends.  If using designer paper, make sure the adhesive goes on the side with the design on it.


Place the adhesive end of the strip into the inside of the basket and push down.


Bring the other end of the strip to the other side of the basket and adhere it the same way.  Your basket is now ready to fill.  By using the biggest Sizzix scalloped heart die to make these baskets, I am able to fit about 30 Andes Candies in it.  That's one whole bag!


To make the card that matches your basket, just cut out the Love You die and adhere it to the front of a card.


Add this basket to the others and they will be off to the children soon:


*** Materials for this project are available at www.franticstamper.com.
Frantic Stamper Die Used:

Friday, January 30, 2015

Valentine's Day Treat Idea (Jen Carter)


Jen Carter Frantic Stamper Color World Valentine Front

Valentine's Day Treat Idea
by Jen Carter


Hey everyone!  We are moving into the month of love soon!  Are your kids pestering you about what kind of treats to pass out at school this year?  I have a fun idea to share today! I have had this earth die in my stash for a few months now, itching to use it!  I decided now was the time and I wanted to use it in an out-of-the-box way so I'm using it on a tag for Valentine's Day treats.

Jen Carter Frantic Stamper Color World Valentine Tag

I started by die cutting the Frantic Stamper Planet Earth die in both a watercolored patterned paper and a pink cardstock. I wanted the earth to match the sentiment so my paper needed to be a fun colored patterned.  I cut out the double pointed banner that is included in the Diagonal Card Sketcher set of dies and stamped part of my sentiment on it.  I layered this on top of the die cut earth with dimensionals. The little hearts are die cut from the Elementals #2 Lacy Heart Frames and are the perfect size for adding tiny embellishments to projects!  Here they frame the rest of my sentiment.

Jen Carter Frantic Stamper Color World Valentine Side

The tag is cut with the Elementals #7 Coved Labels die set.  These are intended for labels but as soon as I saw them I thought that they were the perfect shape & size to use as tags!  To make them into a tag, I punched a hole in the top of one side and then added an eyelet as reinforcement for the hole.   I love how well the earth and banner layered on top of the tag!

Thank you for visiting today! I hope that this project inspires some creative Valentine treats


*** Materials for this project available at www.franticstamper.com.

Frantic Stamper Products Used:


Thursday, January 29, 2015

All Sewn Up Card (Sharon Jeffs, Former DT Member)


All Sewn Up Card
by Sharon Jeffs


For a while it was a big thing to add ribbon to projects.  There was ribbon available everywhere and it all different sizes, colours and pattern.  I bought heaps of it with the he intention of using it all ... and never did!  Like a lot of other crafters, I have tonnes of ribbon and have decided to try to find new and different ways to use it up.

When I first saw the Heart die, I immediately wanted to have a go at creating a ribbon heart to kind of give homage that country feel.

One of the great things about this die set is that the large heart cuts out a solid heart but also an outline of the heart.  I used the solid part as my guide by adhering strips of ribbon over its surface, leaving the ends.  I then used my sewing machine to sew all of the ribbons together using a zigzag stitch and then adding the outline part of the die over the top to re-define the heart shape.

Pretty simple really but I love the final effect, especially since I've managed to use up some more of my ribbon supplies!


*** Materials for this project are available at www.franticstamper.com.

Frantic Stamper Precisions Die Used:

Tuesday, January 27, 2015

Mr & Mrs (Pam Simpson, Special Contributor)


Mr & Mrs
by Pam Simpson, Special Contributor


Our special contributor, Pam, used several Frantic Stamper dies to make this gorgeous card. You can get the details, and see more views, at her blog.


*** Materials for this project available at www.franticstamper.com.

Frantic Stamper Products Used:


Sunday, January 25, 2015

Nativity Pop-up Card (Jen Carter)


This year, on the 25th of every month, we plan to share a Christmas card with you. We hope doing so will inspire you to create a card, too, along with each of us and get a head start on your Holiday cards!

So today, we offer you this FABULOUS card and tutorial from Jen Carter.


Nativity Pop-Up Card
by Jen Carter


When I first laid my eyes on the Frantic Stamper Nativity Creche & Sheep die set I knew I had to have it!  I have had an idea on a way to use it for a long time but it wasn't until recently that I finally took the time to play around with the design.  After a lot of readjusting I got the result that I wanted and I'm excited to share it with you today!  I've also included a photo tutorial at the end of this post in case you'd like to replicate this idea.

As you can see in the photo above, I used the nativity die to create a pop up card.  I love the results!  I really like how the focus of the card is on the nativity.

Manger Card Jen Carter Closeup

Here's a closeup of Mary & Joseph.  I used strips of washi tape to highlight them as they pray over Baby Jesus.  I'll show you how I achieved that below.

Manger Card Jen Carter Inside

This is the inside of the card.  To hide where I had cut out the nativity from the back side of the card I cut a matching piece of cardstock to the same dimensions as the card and adhered it so you can still write a message inside.

Manger Card Jen Carter Back

And here's the back of the card.  You can see where the nativity was cut out of the backside and how the piece that I adhered on the inside also helps stabilize the card.

Here's a tutorial on how I put this card together.


First I cut my cardstock to 4 1/4 x 11 (I could have cut it shorter because I end up trimming it later, but this made it easier at the time to get my measurements right).  Then I scored it at 2 3/4".  This is the line where I will line up my die.


I then chose 2 pieces of thick washi tape.  It's best if your tape is the same width of Mary & Joseph so I found that my skinnier tape didn't work as well.  The tape I used was 3/4" wide.  I used my die as a guide to where I should place my washi tape on the cardstock as shown.


I lined up the die on the scored line and then placed the cutting plate on my die cut machine just above the bottom of the die so that I wouldn't cut the shape completely out.  I wanted the bottom of the nativity to still be attached to my card so that it could pop up.  By placing my cutting plate above the bottom of the die, when I run it through my machine it will only cut to where I have my plate, leaving the bottom portion intact.


This is what it looks like after I ran it through my die cut machine.  You can see that it didn't cut the bottom of the nativity.


I removed the negative pieces of the die and then carefully peeled off any washi tape that was on the shape that I didn't want on my card.  You can see how the tape goes farther down on my figures and over on to baby Jesus.


I took a very sharp pair of pointed scissors and gently used the tip like a knife to cut the tape in the places where I didn't want it, careful not to cut the cardstock in the process.  Most of those places were almost cut for me because of the details that are already cut into the shape with the die, I just had to add a few slices here and there.


After gently peeling away the pieces that I had just cut with the tip of my scissors, this is what I had.


Now I trimmed the back side of the cardstock so that it was the same size as the front.


After trimming, this is what the card looks like when it is standing up.  I tried to get my card to be about the same size as a normal card once it was cut and the star was attached but it ended up a little long.  The front of this card measures 4 1/4" x 5 3/4".  If I made this again, I'd adhere the star just a tad lower so it would fit in a regular sized envelope.


The inside/backside looks like this.  To give it added stability to support the popped up nativity and to allow a place to write a greeting on the inside (which also "cleans up" the inside) I cut a piece of matching cardstock to place inside of the card (as shown on my card sample at the top of this post).

Manger Card Jen Carter

To the very top of the nativity, I added the Northern Star, cut out with gold glitter paper, and attached with a glue dot.  I also cut out the Script Merry Christmas in Silver Metallic paper to finish off the card.

One more thing before I go.  Did you know that Frantic Stamper now has a Flickr gallery!?  We'd love to see what you've been creating using the Frantic Stamper Exclusive Precision dies!  You can join the group and see what others have been creating or you can upload your own creations by clicking here.


Thanks for stopping by!  I hope you enjoyed this card & tutorial!


*** Materials for this project available at www.franticstamper.com. Frantic Stamper Products Used: