Suspended Spider

by Kathy Berger

Suspended Spider Card
Materials
-
Paper and Cardstock
-
Haunted Double Sided Kraft Paper, Spiders, Flocked (
MME-P-HAU108
$1.49)
-
Bazzill Singles, Classic texture
-
Stamps
-
Inks and Embossing Powders
-
Embellishments
-
Haunted Decorative Brads (
MME-BR-HAU113
$3.99)
-
Fine Black Glitter
-
Ribbons
-
Tools
-
Martha Stewart Crafts Punch, Large Spider (
MSC-PU-232113
$14.99)
-
Nestabilities, Circles Small (
Wiz-D-S4116
$24.99)
-
EK Success Punch, 1 1/2" circle (
EK-PSPNP-09
$13.99)
-
EK Success Punch, 1 3/8" circle (
EK-PSPNP-10
$13.99)
-
Cuttlebug Embossing Folder, Spider Web (not currently available)
-
Cuttlebug Die Cutting Machine and plates (
Pro-cuttlebug
$89.00)
-
ATG-714 Double Sided Adhesive Tape Gun (
ATG-714
$59.99)
-
Craft knife (
MM-Knife
-
Adhesives
-
A piece of white dental floss, about 8" long
Instructions
-
Cut the white cardstock to 11" x 5 1/2".
Score, in landscape orientation, at 5 1/2".
Fold on score line to form 5 1/2" x 5 1/2" square card.
-
Cut the flocked spiders paper to 5 1/2" x 5 1/2".
Using the ATG and tape, adhere the flocked paper the card front.
Set aside.
-
Punch two spiders out of black cardstock.

Cover each of them with a thin layer of the tacky glue.
Sprinkle both liberally with black glitter.
Shake off excess.
Set aside to dry.

-
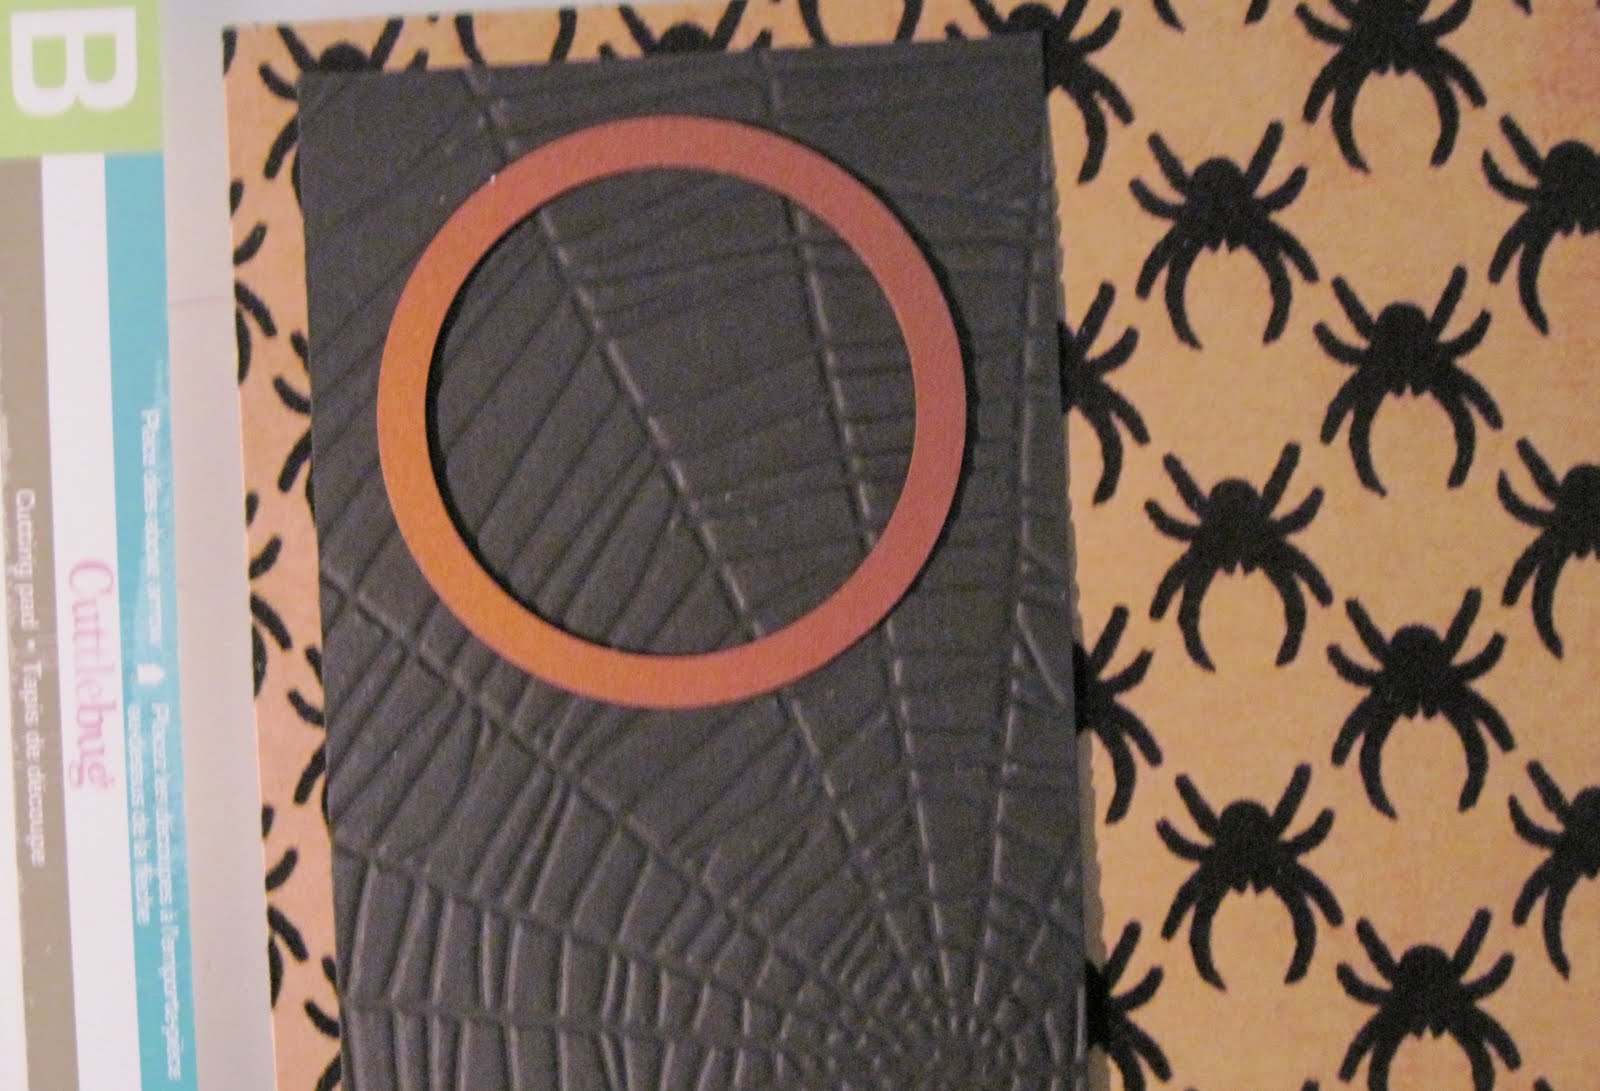
Place a 3" x 4 1/4" piece of black cardstock into the spider web embossing folder.
Run through a die cutting machine per manufacturer's instructions (A plate, 2 B plates).
-
Use a punched out spider to determine the size of the circle die you will use to punch the hole in the front of the card.
The spider should fit completely inside the die.

-
Open the card.
Align the embossed black card stock over the front of the card, about a quarter inch from the lower and right edges.
Place the die, cutting side down, onto the black card stock where the hole is desired.
Use very low-tack tape to hold the die and cardstock in place, if desired.

Run through the die cutting machine per manufacturer's instructions (A plate, B plate, C plate).
The die will not cut through all of the layers of cardstock, but should cut through the black cardstock and leave a partially cut impression in the remaining layers.
Remove the black card stock layer.
Re-align the die on the card using the cut impression as a guide.
Run through the die cutting machine to cut the front of the card.

-
Turn one of the spiders so that the glitter side is down.
Apply a thin layer of glue to the legs.
Place a piece of red-liner tape onto the abdomen of the spider.

Peel back the red liner.
Affix the piece of dental floss to the red liner tape.

Place the unglittered side of the second spider on top of the first, carefully aligning the legs.

-
Place small pieces of red-liner tape at the top and bottom of the cut out hole on the front of the card base.
Affix the dental floss on the red-liner tape so that the spider is centered in the hole.

-
Turn the open card over.
Place the circular piece cut out of the front back into the hole, taking care to have the spiders in the same orientation as the ones on the front of the card.

Put adhesive on the circle.
Close the card.
This will cause the circle to adhere to the back of the card in the correct position to align with the hole when the card is closed.
-
Adhere the black embossed panel in place on the front of the card, being careful to align the holes.
-
Open the card.
Cut a 3/4" long slit along the center fold, starting about 1" from the top of the card.
Pass both of the ribbons through the slit.

Put the web ribbon on top of the dot ribbon.
Tie a knot in the both ribbons at the same time.
-
Cut the brad ends off the brad.
Use a large glue dot to attach the brad over the knot in the ribbon.
Loop a 5" piece of the web ribbon over the knot and tie, keeping the ends even.
-
Stamp the SPOOKY saying on the kraft paper.
Punch a 1 3/8" circle out of the kraft paper, centering the saying in the circle.
Punch a 1 1/2" circle out of black paper.
Mount the kraft circle onto the black circle, sandwiching the ends of the web ribbon between them to form a hang-tag.

 by Kathy Berger


No comments:
Post a Comment