
Getting the Most from One Die Cut
by Jen CarterHey everyone! Today I wanted to share two cards that look totally different I made using the same die. To make both cards I started by die cutting one piece of patterned paper (Flutter by Fancy Pants) with the Frantic Stamper Circle Cross Card Panel die. I then used this one die cut to create several cards, two of which I'm sharing today and another one that I'll share at a later time.
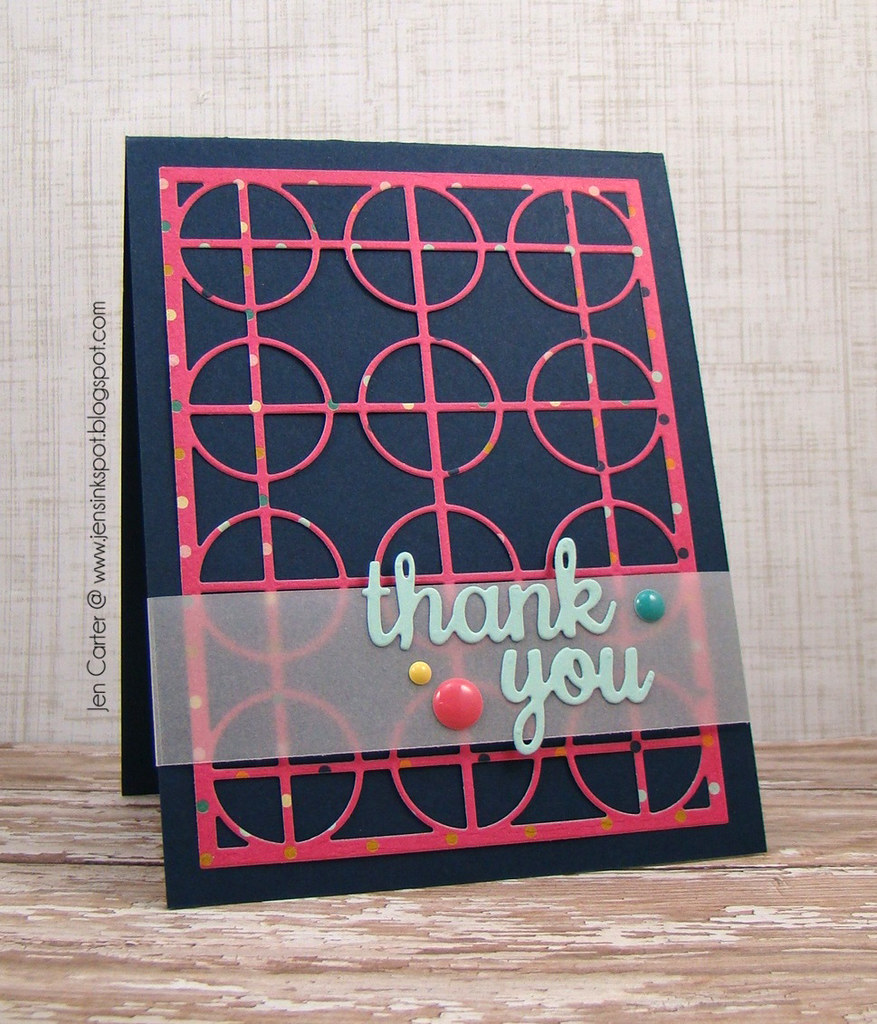
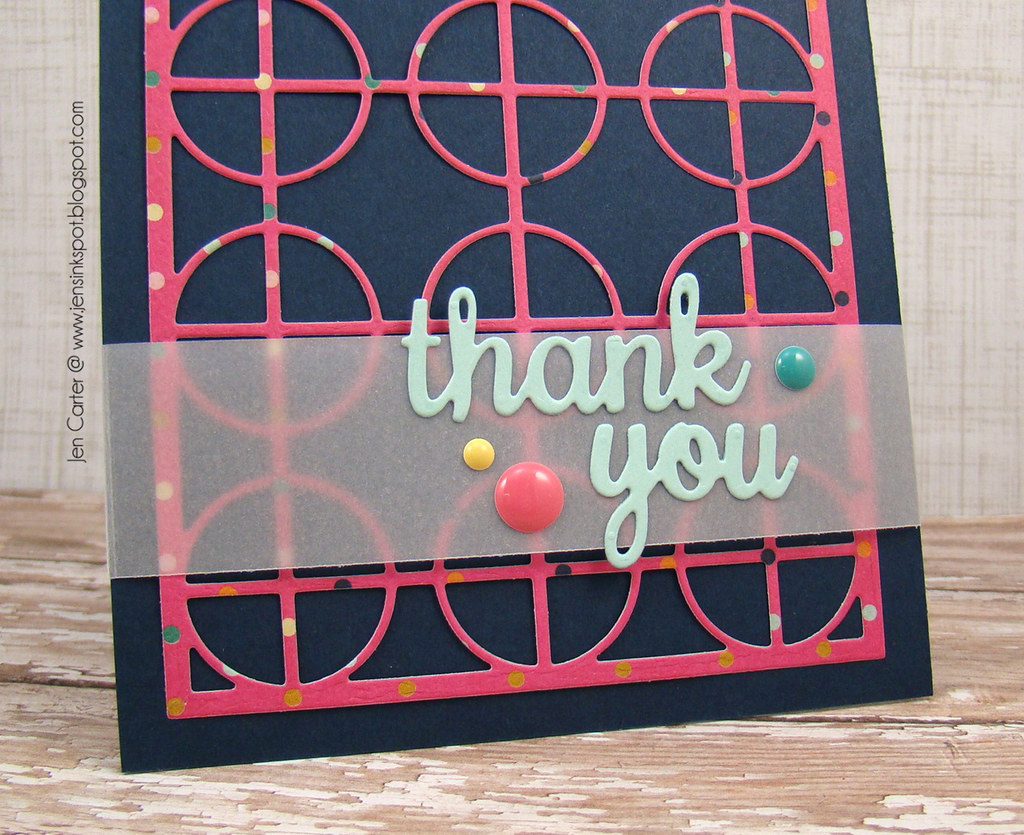
For this first card I used the card panel that was made after die cutting. This card is super simple and quick to put together! All I did was add some adhesive to the back and glued it on to my card base.

Next I took some vellum and wrapped it around the bottom of the card. Here's a tip: if you aren't sure how to adhere vellum so that the adhesive doesn't show, try wrapping it around something and then adhering it on the back side! After the vellum was adhered I added the 'thank you" from the Accessory Words #3 die set and a few enamel dots. Easy peasy!

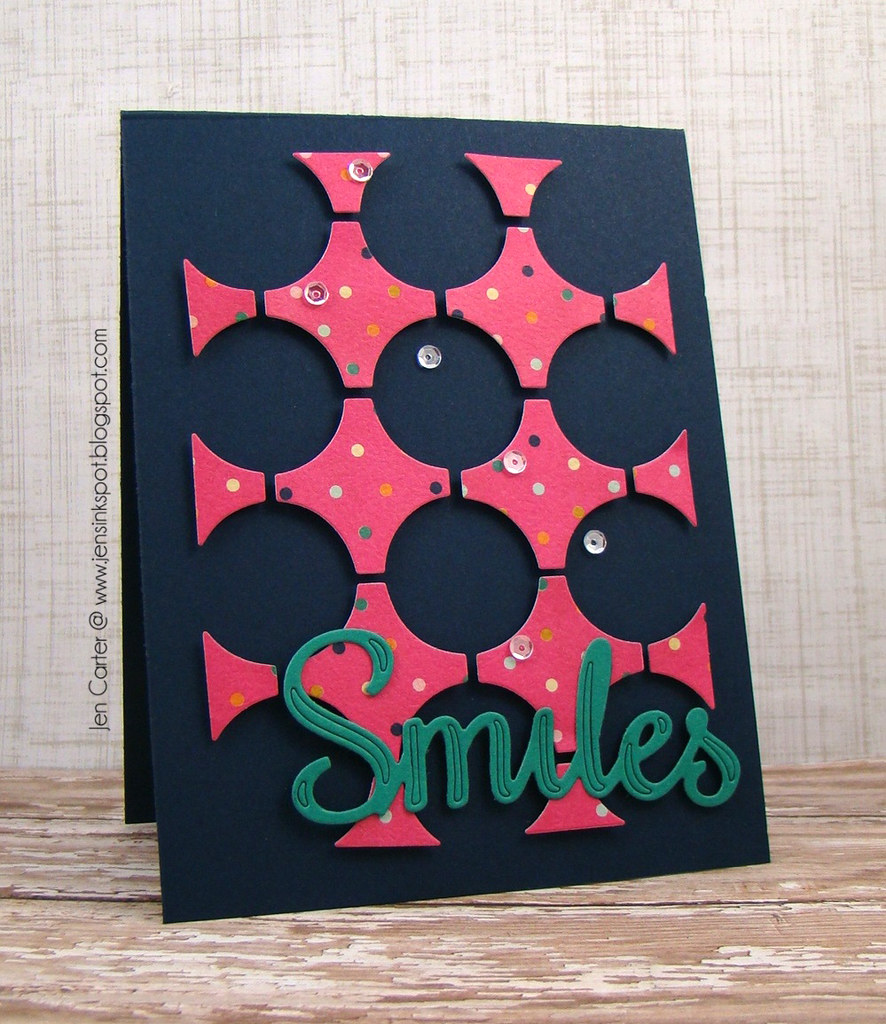
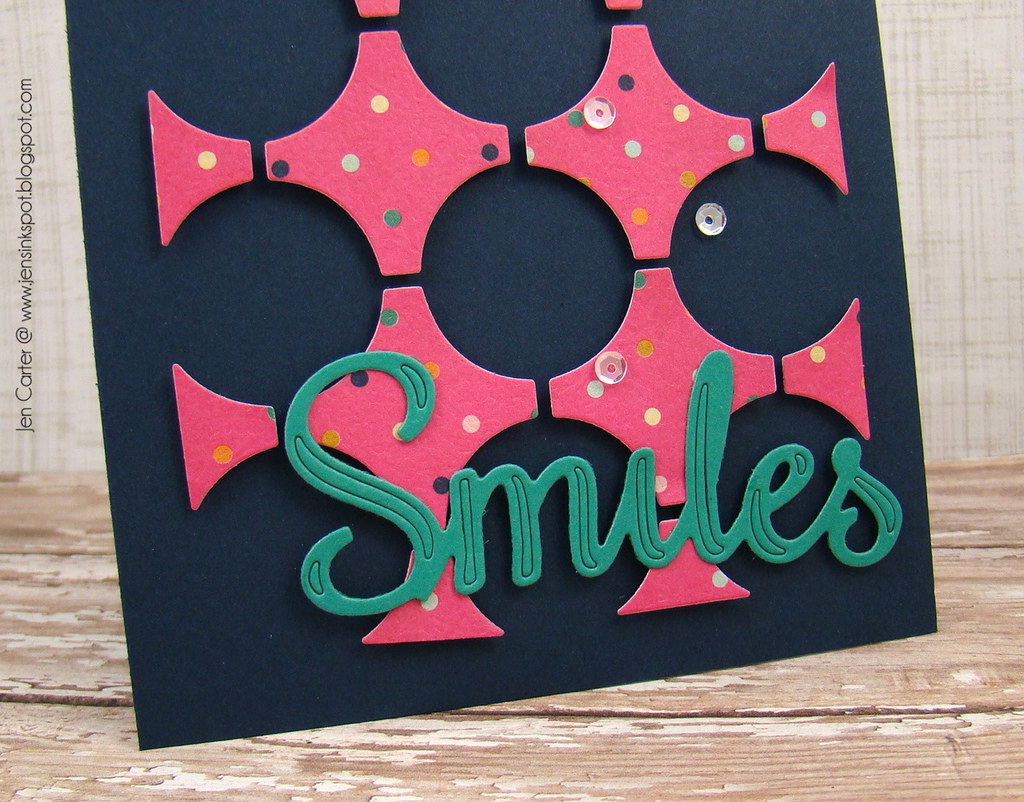
For this next card I used the large negative pieces that were left over after cutting the card panel. I'm still filling up a card front using just that one die cut that I cut for the card above! I used a cut Circle Cross Card Panel as my guide as to where to place these negative images, that I popped up with dimensionals, and then after they were where I wanted them gently lifted off the card panel piece.

I added the Smiles word die cut to the top of the pieces and then added a few clear sequins to finish the card off. Again, another easy card!
Thanks for stopping by!
*** Materials for this project available at www.franticstamper.com.


What a great way to get 2 cards from 1 cut!! Can't wait to see the 3rd one!
ReplyDelete