Wednesday, January 21, 2015

Marriage (Elly DeBruin, Special Contributor)


Marriage


Elly created this lovely card featuring our With This Kiss Couple and Small Solid Paper Bow dies, and we just had to share.

You can see her original post on her blog here.


*** Materials for this project available at www.franticstamper.com. Frantic Stamper Dies Used:


Monday, January 19, 2015

Valentine Shaker Card Tutorial (Ann Greenspan)


Valentine Shaker Card Tutorial
by Ann Greenspan


Shaker cards are so popular today; you can put just about anything you want inside them for different effects.  I chose to fill mine with seed beads since I have a TON of them hanging around.

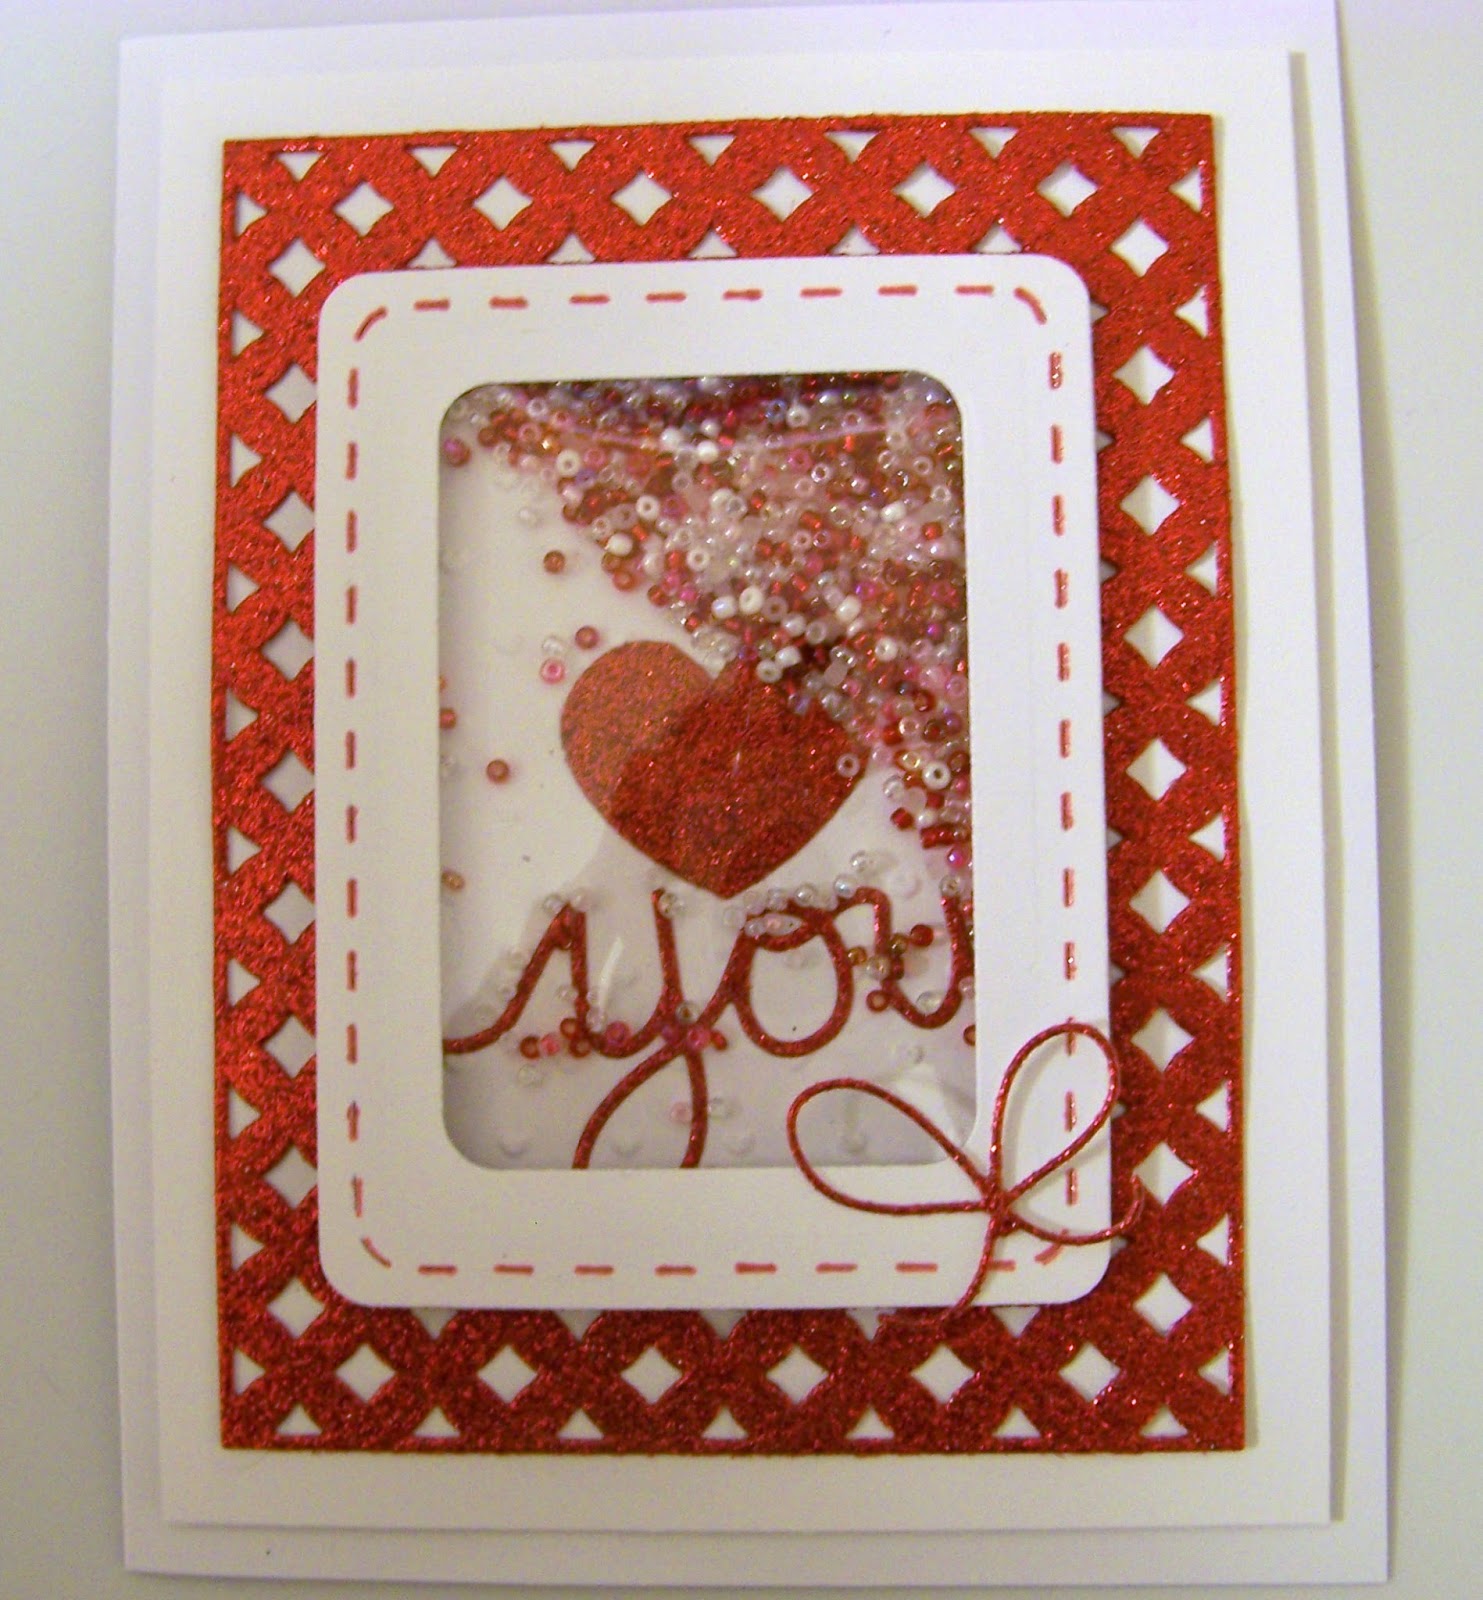
Here's my card that I made using the Frantic Stamper Stitched 3x4 and 2x3 Photo Cards die as the shaker part:


I used the You part of the Frantic Stamper  Handwritten Love You die and one of the balloons from the Frantic Stamper Heart Balloons die.  I went over the stitching on the photo card panel with a red gel pen.  The bow is a Memory Box Crisp bow die.  The lattice background is the Spellbinder's Diamond Effects die.

Here's how to make the shaker part of the die:

Cut two pieces of the 3x4 photo card, one for the front and one for the back.  For the front piece only, place the smaller 2x3 photo card die inside the piece you already cut out to make a frame as in the photo below:


If you want to stamp or adhere something to show inside the window of the shaker, it's best to do it now.  I adhered the heart and the word You to my back panel.

Next you need to cut a piece of acetate (that clear packaging stuff that Spellbinder dies come in or acetate you can purchase at a craft store) slightly smaller than the 3x4 photo card back panel.  Hold it up to the back panel of the shaker and make sure it can't be seen.  Trim as needed.

To adhere the acetate to the front window frame piece simply run a piece of double sided tape all the way around the back side of the "frame".


Now that the front of the shaker card is done, we can begin assembling it.  In order to allow room for the beads to move around inside the shaker, foam dimensional tape or other material is used to raise up the front panel off the bottom panel.  I like to use weather stripping from the hardware or dollar store.  The one I find works best is 1/4" wide and 1/4" thick.  It only has one sticky side to it which means the sides are not sticky like most foam dimensional tapes are.  You don't want anything sticky along the insides of the shaker or the beads will stick to it.


In the above photo, you can see where the weather stripping is adhered to the edges of the top window of the shaker.

Since the weather stripping only comes with one sticky side, we need to apply double sided tape to the top of the weather stripping so it will stick to the back panel.  Before you remove the backing from the tape, pour in a few of the seed beads or other material.


Carefully remove the backing from the tape and adhere the back/bottom panel of the shaker, making sure you have the correct side facing down if you have decorated or stamped it.  Push gently around the edges to make them adhere.


Now you can decorate the front of your card and adhere the shaker to it.  Double sided tape works best to adhere the shaker to the card front rather than roller adhesive since you don't want to take a chance that the shaker will fall off the card.  I used a gel pen to fill in the stitch marks on the photo card in the picture below:



*** Materials for this project available at www.franticstamper.com.

Frantic Stamper Products Used:

Friday, January 16, 2015

Happy Valentines Day (Rozy Smith)


"Happy Valentines Day"
by Rozy


Use white cardstock for base. Card shape is courtesy of Castlepark Designs. Trace the pattern on white cardstock & two coordinating papers using Authentique Lovely Elements collection. Cut pieces and place on corresponding white cardstock.

Using Frantic Stamper Heart On My Sleeve Edger cut out four strips in solid color, trim to fit the outside edges of the card, adhere in place, save all of the little inserts that fall out of the die cuts using them for embellishments. 

Using Frantic Stamper Hollywood Film Strip Die cut a film strip from matching solid that was used for edging. Lay the film strip over pictures and trace, then cut out pictures to fill in the film strip.  Layer on white cardstock, fussy cut around edges, layer again on solid and fussy cut edges. Adhere with dimensional dots and place in center of card.

Embellish with cut-outs, skeleton leaves, pink feathers, Prima butterflies, mulberry flowers and leaves.

 Make a small tag from the Authentique Collection thread green fiber and attach a metal heart.

As always have fun with your project! Happy Valentines Day!


*** Materials for this project available at www.franticstamper.com.

Frantic Stamper Products Used:


Wednesday, January 14, 2015

Love! (Amy Kolling, Guest Designer)


Love

Love
by Amy Kolling, Guest Designer


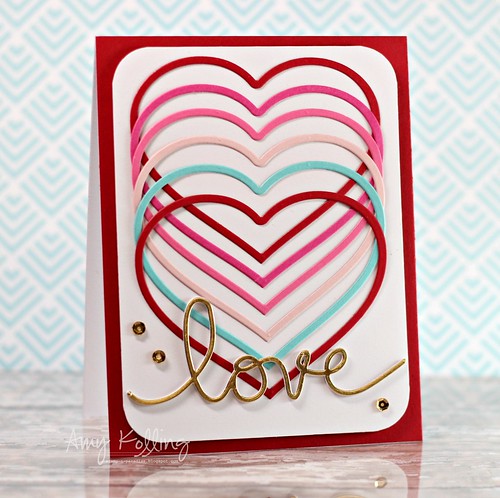
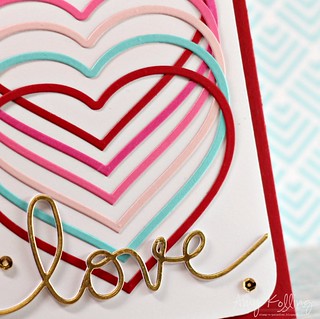
Since Valentine's Day is upon us, I wanted to share this card that is all about love!  I've used the Rose Heart die which was diecut 6 times with various colors of cardstock.  The FANTASTIC thing about this die is that it not only diecuts a beautiful rose inside a heart but it cuts out this fabulous thin heart too!!!

The word "love" is from the Handwritten "love you" die set.  I've diecut several (3 white and 1 gold) and layered them all together!  Some last details are rounded corners and some mini gold sequins.

Love2


*** Materials for this project available at www.franticstamper.com.

Frantic Stamper Products Used:

Tuesday, January 13, 2015

Love You (Jen Carter)


Jen Carter Country Heart Love You Card

Love You
by Jen Carter


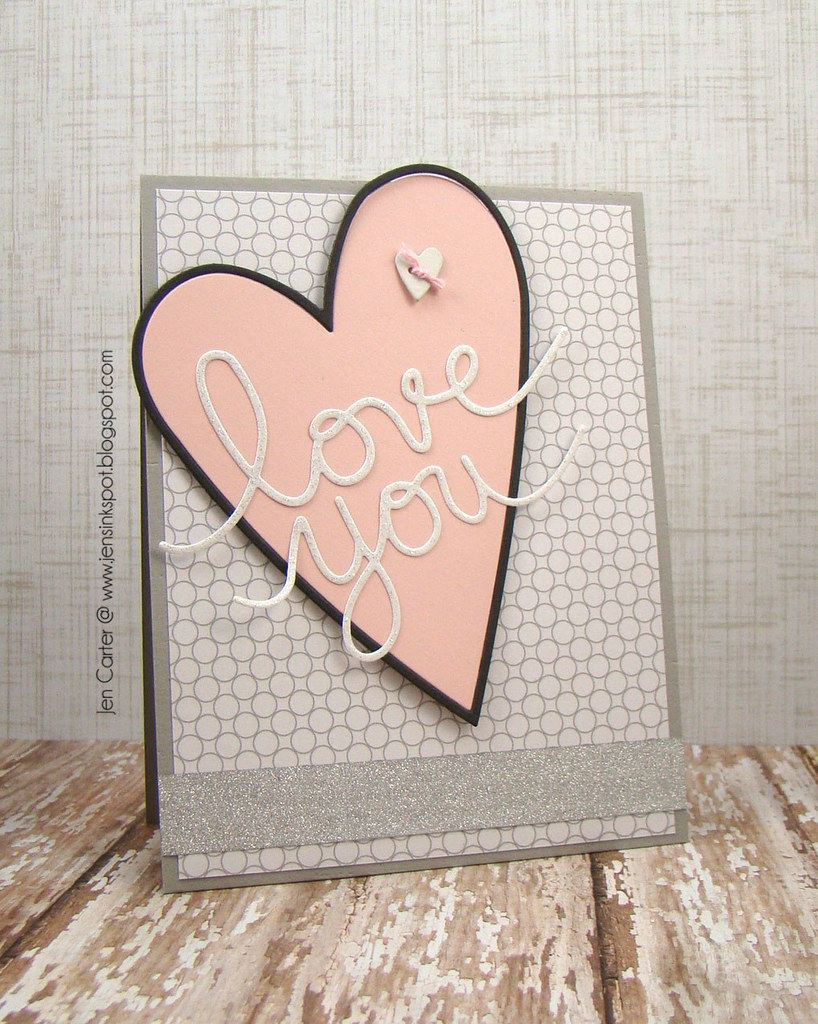
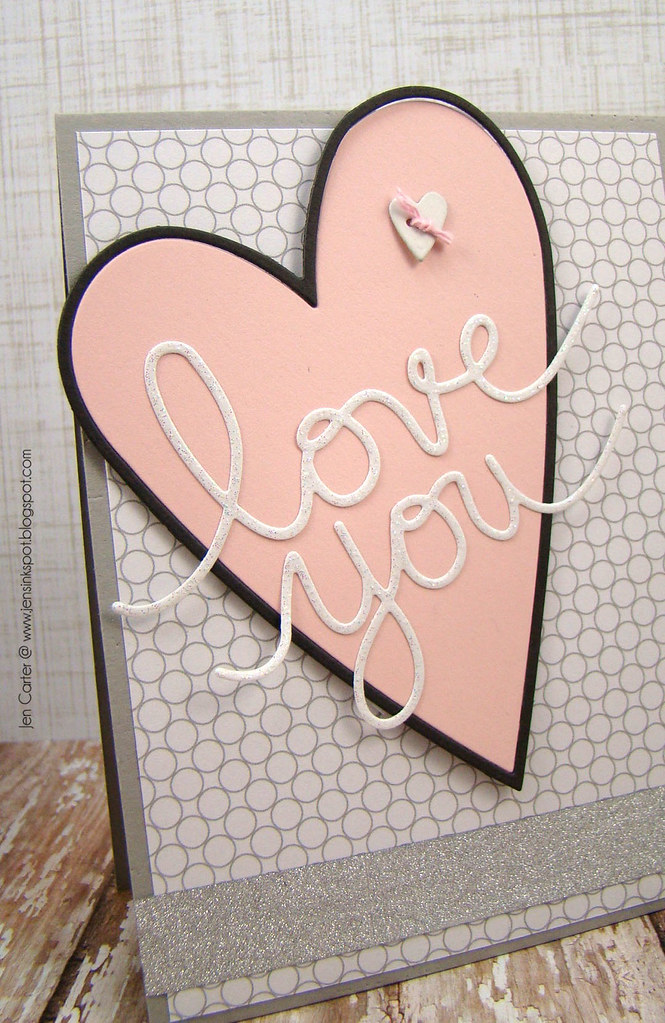
I love this large Country Heart die from Frantic Stamper (and there is a smaller version of this same heart included in the die set as well)!  It is a die that you can use at least 3 ways and I love versatility!  It cuts out the middle heart (shown in pink on this card), the outline (shown in dark gray, although it looks black), and you can make a window with it on your card front as well if you'd like (or use as a shaker)! For this card, I adhered the outline and the solid heart together and popped it up with pop dots.

Jen Carter Country Heart Love You Card Closeup


Then, I die cut this fantastic Handwritten Love You die with white glitter paper and attached it to the hearts.  I love how the edges partly hang off the side of the heart.  Do you see that tiny button heart at the top of the large heart?  That is also a die included in the Country Hearts die set (of 8).

This was a super easy card to put together!  I hope you enjoyed it!


*** Materials for this project available at www.franticstamper.com.

Frantic Stamper Products Used:

Saturday, January 10, 2015

Birds, Blossoms, Butterflies! (Anne Harada, Guest Designer)


Birds, Blossoms, Butterflies!
by Anne Harada, Guest Designer


I find myself doing less and less stamping on my projects these days.  Not because I don't love to play with ink, but because there are so many exciting dies out there that feed that creativity itch!  Frantic Stamper is one of my favorite go-to resources for inspiration in this category!

A tip to pass along to die users, is to die cut extra samples of your dies, whether you think you'll use them on the project at hand or not.  When you're actually sitting down to make a card, die cut even more extras.  Just save them - both the positive and negative parts - and you'll find yourself reaching for those extra pieces to use on other projects or to use as design guides and inspiration for your next project.  Use them as intended, or try stacking them with dimensional foam to create toile embellishments; use them as masks; sprinkle them around your background panel before dry embossing the panel for a fun unique background!  When your Mojo is lacking, challenge yourself to create something using the extra pieces, you'll be surprised how quickly and easily a project can come together with all those fun embellishments!

I created four cards using a combination of six FS dies.  No stamping was involved (with the exception of the sentiment)!  Several of the die cuts are my own leftovers from previous projects I've done!  Here are my samples!


*** Materials for this project available at www.franticstamper.com.

Frantic Stamper Products Used:


Wednesday, January 07, 2015

Howdy (Rachelle Green)


Howdy
by Rachelle Green


For some reason I have a hard time making masculine cards but this card is an exception. When I saw the "Howdy" word die from a recent Frantic Stamper Inc, release I knew immediately I would pair it with the Cowboy Accessories die. Starting with a Kraft cardstock base, I chose papers from my stash. The hat was cut from craft foam and as I love to do with Frantic Stamper dies, I didn't remove the cutouts. Using two different foil papers, silver and gold, I cut different elements to add dimension. Finally I added foam dots and brads. I think this card gets a resounding thumbs up as a masculine card.


*** Materials for this project are available at www.franticstamper.com.

Frantic Stamper Products Used: