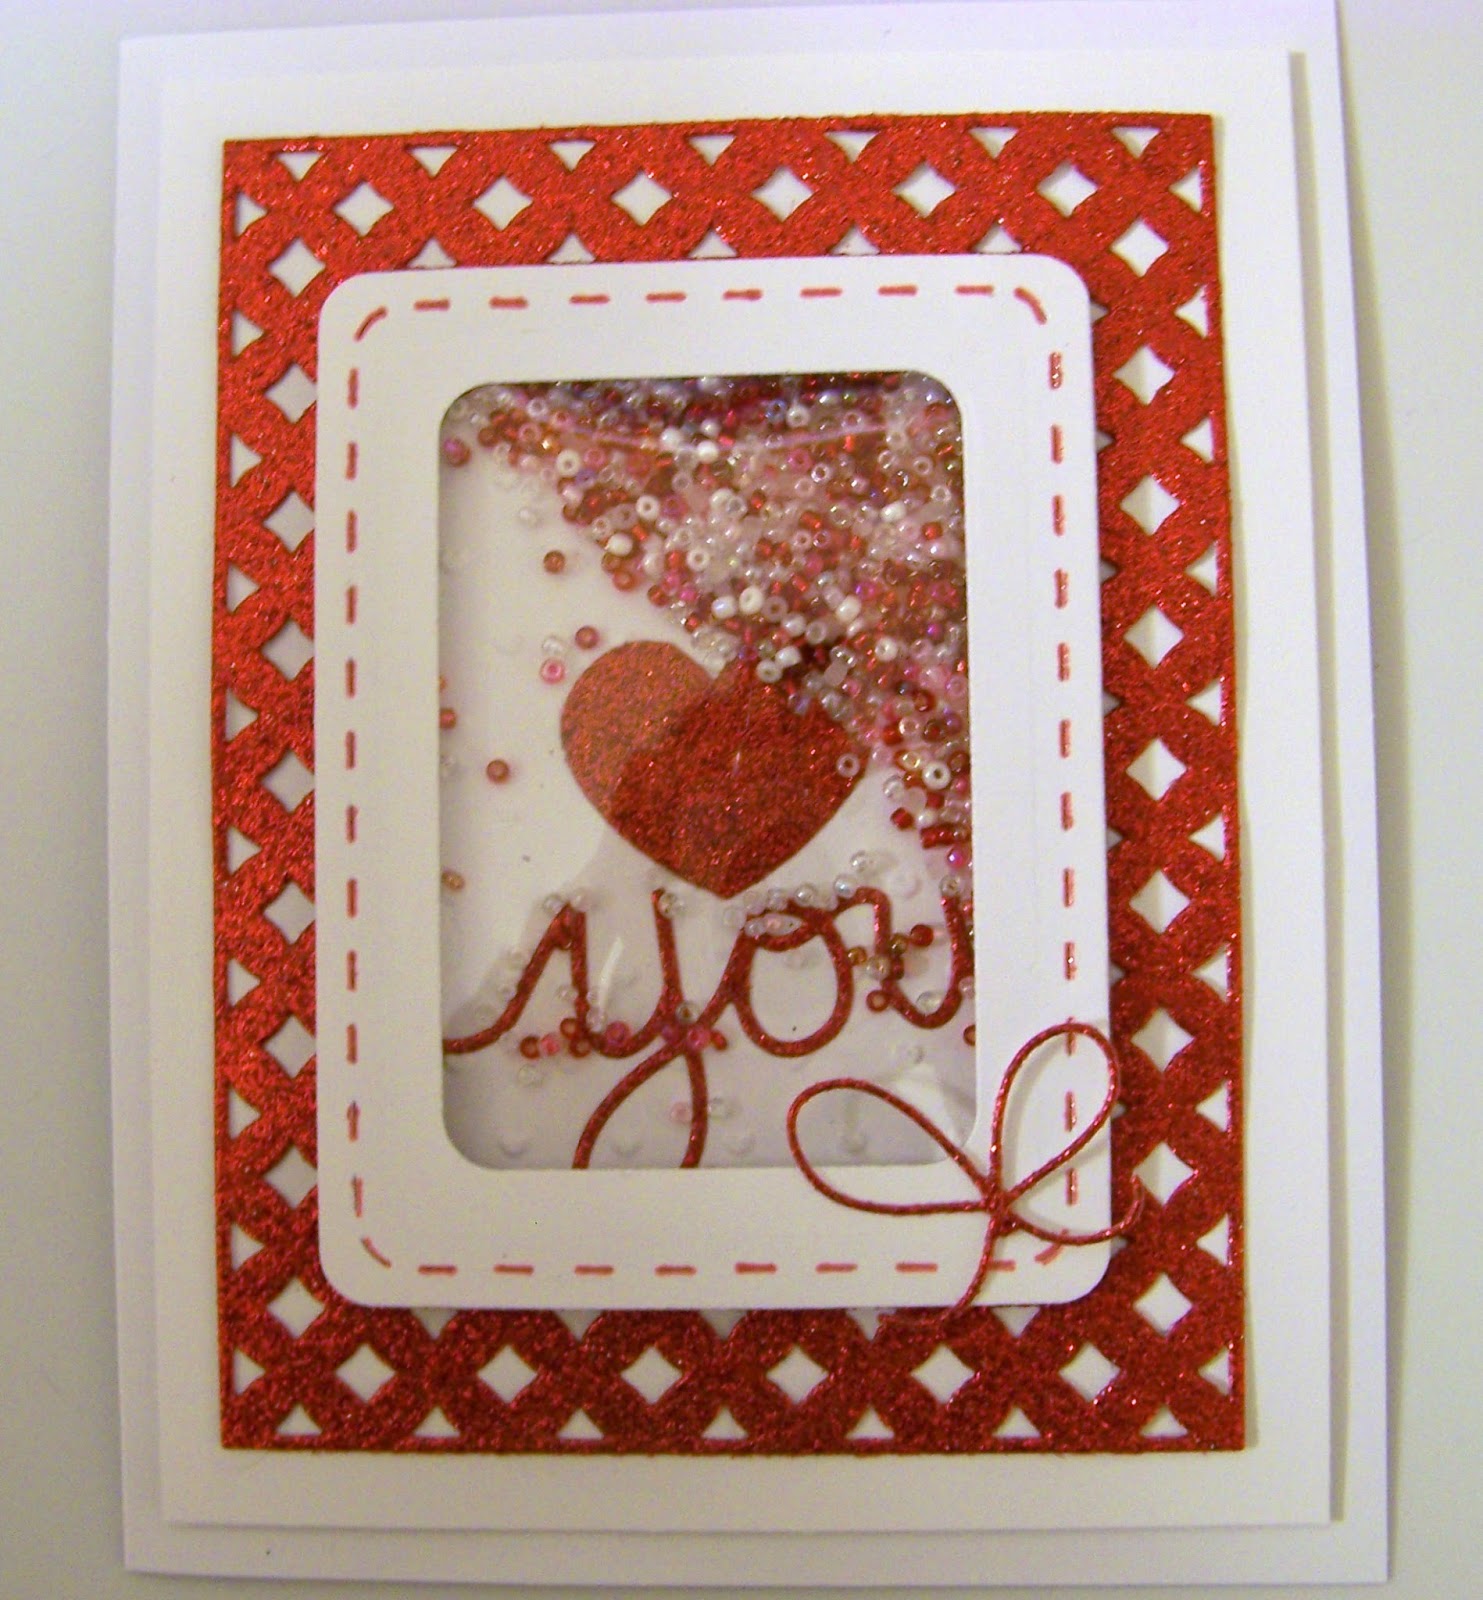

Valentine Shaker Card Tutorial
by Ann GreenspanShaker cards are so popular today; you can put just about anything you want inside them for different effects. I chose to fill mine with seed beads since I have a TON of them hanging around.
Here's my card that I made using the Frantic Stamper Stitched 3x4 and 2x3 Photo Cards die as the shaker part:


I used the You part of the Frantic Stamper Handwritten Love You die and one of the balloons from the Frantic Stamper Heart Balloons die. I went over the stitching on the photo card panel with a red gel pen. The bow is a Memory Box Crisp bow die. The lattice background is the Spellbinder's Diamond Effects die.
Here's how to make the shaker part of the die:
Cut two pieces of the 3x4 photo card, one for the front and one for the back. For the front piece only, place the smaller 2x3 photo card die inside the piece you already cut out to make a frame as in the photo below:


If you want to stamp or adhere something to show inside the window of the shaker, it's best to do it now. I adhered the heart and the word You to my back panel.
Next you need to cut a piece of acetate (that clear packaging stuff that Spellbinder dies come in or acetate you can purchase at a craft store) slightly smaller than the 3x4 photo card back panel. Hold it up to the back panel of the shaker and make sure it can't be seen. Trim as needed.
To adhere the acetate to the front window frame piece simply run a piece of double sided tape all the way around the back side of the "frame".


Now that the front of the shaker card is done, we can begin assembling it. In order to allow room for the beads to move around inside the shaker, foam dimensional tape or other material is used to raise up the front panel off the bottom panel. I like to use weather stripping from the hardware or dollar store. The one I find works best is 1/4" wide and 1/4" thick. It only has one sticky side to it which means the sides are not sticky like most foam dimensional tapes are. You don't want anything sticky along the insides of the shaker or the beads will stick to it.


In the above photo, you can see where the weather stripping is adhered to the edges of the top window of the shaker.
Since the weather stripping only comes with one sticky side, we need to apply double sided tape to the top of the weather stripping so it will stick to the back panel. Before you remove the backing from the tape, pour in a few of the seed beads or other material.

Carefully remove the backing from the tape and adhere the back/bottom panel of the shaker, making sure you have the correct side facing down if you have decorated or stamped it. Push gently around the edges to make them adhere.

Now you can decorate the front of your card and adhere the shaker to it. Double sided tape works best to adhere the shaker to the card front rather than roller adhesive since you don't want to take a chance that the shaker will fall off the card. I used a gel pen to fill in the stitch marks on the photo card in the picture below:

*** Materials for this project available at www.franticstamper.com.
Frantic Stamper Products Used:
Frantic Stamper Products Used:
- Stitched 3x4 and 2x3 Photo Cards (FRA-DIE-09149)
- Heart Balloons (FRA-DIE-09322)
- Handwritten Love You (FRA-Die-09314)


So very cute!!! Thanks for the step-by-step tutorial
ReplyDelete